


Loaf 39 – Testing a Proof, QED
I haven’t yet mastered how long to proof my breads before baking, so I decided to do a test to understand what happens when a loaf is over-proofed. The results from this experiment weren’t at all what I expected. But before the punchline, here’s some background information.
Proofing is the rising stage right before baking. The yeast is busy eating and creating carbon dioxide, which is what creates the holes inside the loaf. The gluten in the dough allows it to stretch like a balloon around the bubbles without breaking. If the bread is allowed to rise for too long, the yeast runs out of food and can’t recover and the loaf collapses upon itself.
The common way to test to see if the bread has proofed enough is to gently poke your finger into it. If the dough quickly bounces back it isn’t ready, if it doesn’t recover at all you’re too late, and if it comes back slowly the bread is ready to bake.
You also get some additional “oven pop” in the first five minutes of baking. During this time the heat gets the yeast highly activated, until they reach 140° and instantly die.
I’m sure I haven’t been proofing enough, as I’ve been going by what the recipes recommend, and my kitchen is generally cold.
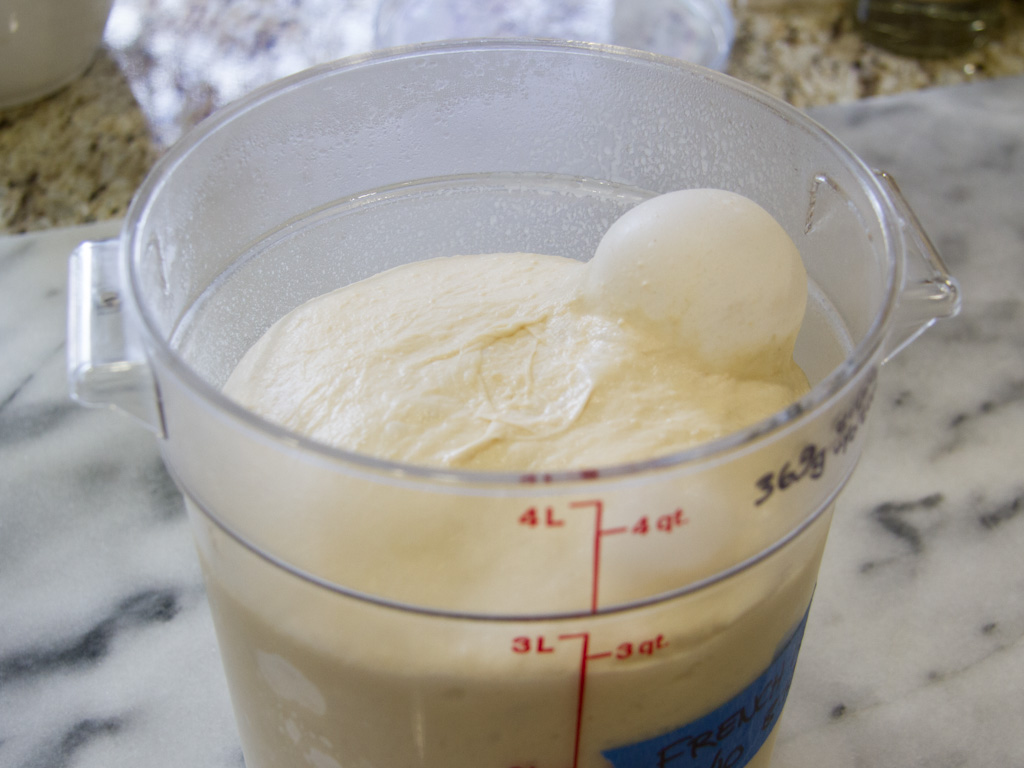
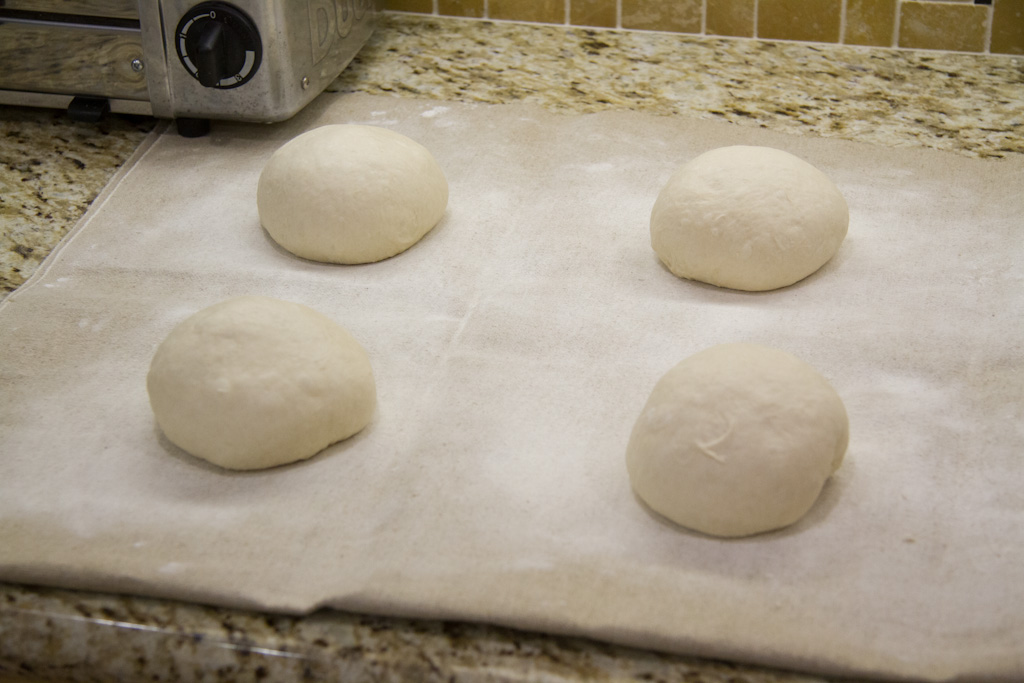
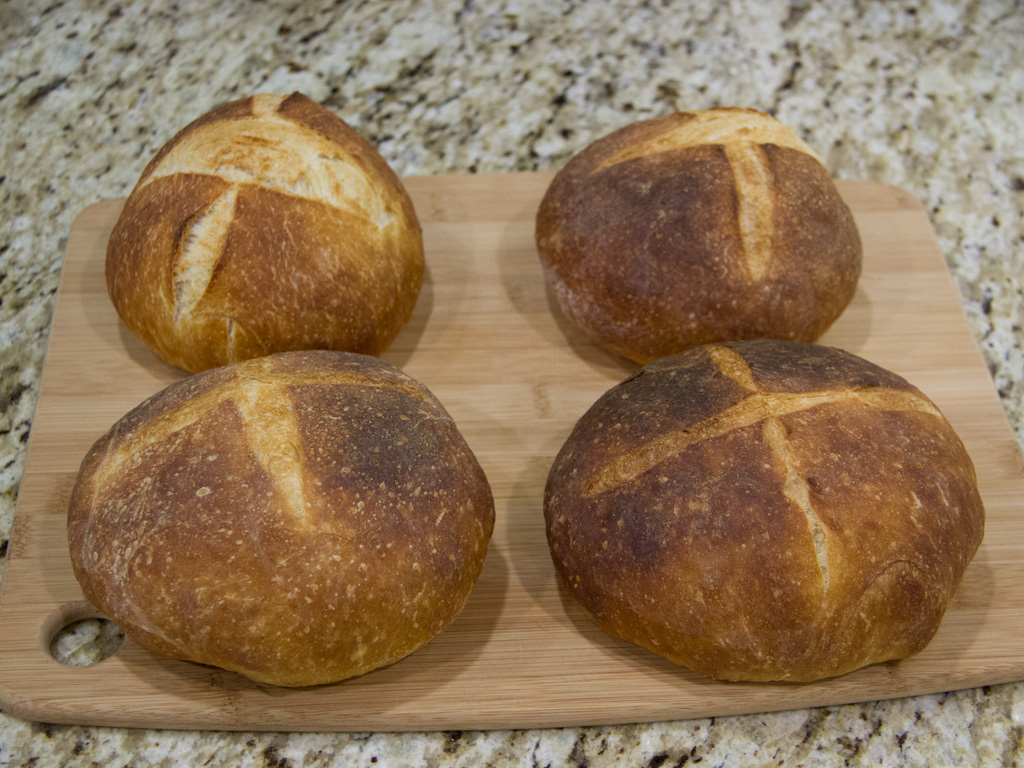
For my experiment, I decided to make a batch of dough, divide it into four loaves, and bake each loaf a half hour after the prior one. The goal was to have a range of loaves to compare from under-proofed to over-proofed. The shortest proofing time in my recipes is 1½ hours, so I decided to start there. The fourth loaf would proof for 3 hours – plenty of time to over-proof.
I used Reinhart’s French bread recipe because I am very comfortable with it, and because the crumb has small holes so the result of the test will be easier to see. My kitchen was between 68° and 70° during the experiment.
The image below is a time-lapse of the 3 hour boule, showing it at the beginning and at the time each loaf was baked.

Proofing times
The loaves continued to rise through the entire time, and the “finger test” on the 3 hour loaf still sprung back slowly. Despite the fact I proofed that loaf twice as long as normal, it didn’t appear to reach the over-proofed stage.
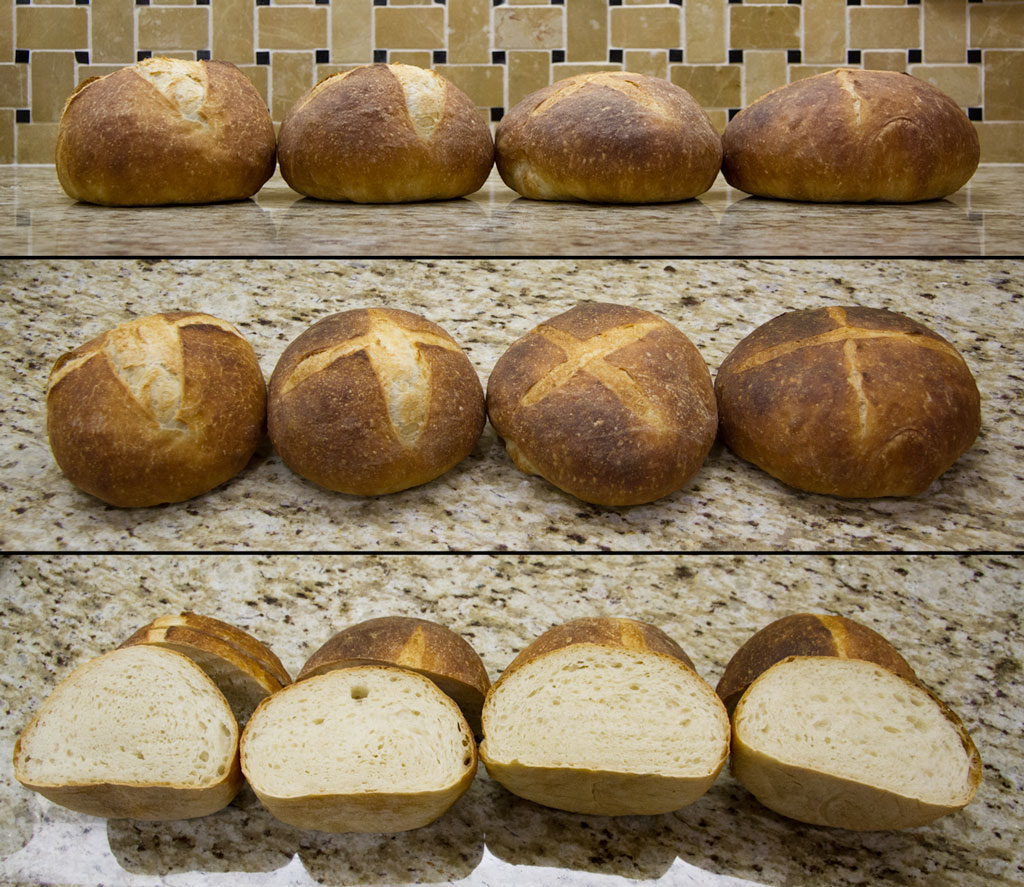
The visible results on the external crust told a very definite story. Each loaf had less oven pop than the loaf before it. Most of the loaves I’ve made at home resemble the first loaf – a lot of separation and tearing at the scores. This makes for really nice ears, good crusty bits to crunch on, and is very visually appealing. The third and fourth loaves barely had any oven pop – the fourth loaf was barely able to keep the score stretched open, making it look flat and dead.
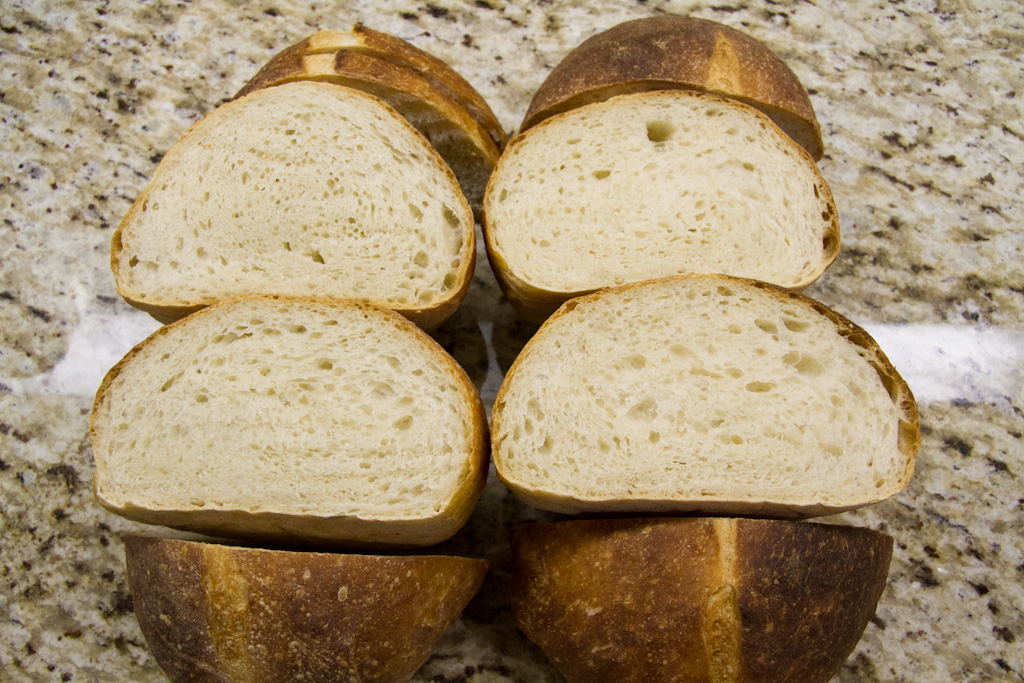
The oven pop seemed to tell a definitive story… until I cut them open.

1.5, 2, 2.5, 3 hours proofing
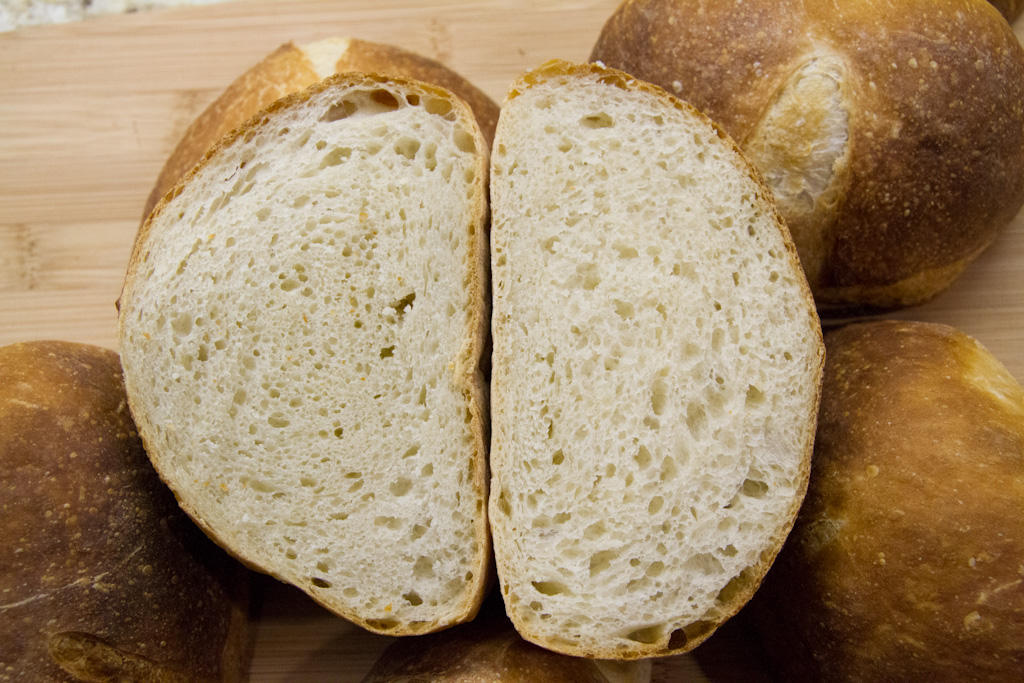
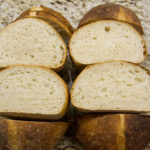
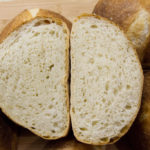
Much to my surprise, the internal crumb of each loaf was progressively nicer. The first loaf (1½ hour proofing) had a tight and uneven distribution of holes. The center was more dense than the sides. It was under-proofed. The last loaf (3 hours) had an even distribution of larger holes. Even though the first loaf seemed to have a larger cross-section, the fourth loaf looked and felt lighter, airier and springier. The difference can be seen clearly in this picture comparing the two:

Crumb from 1.5 and 3 hours proofing
Conclusions
- I didn’t achieve my goal of over-proofing. I assume that’s because my kitchen was just too cold to do it in three hours. I wasn’t able to experience a failing finger test, which was one of my goals.
- I did proof it far enough to not get a reasonable oven pop, though, so I assume I was pretty close. If I had to choose a right time on this batch I’d probably go around the 2½ hour mark – a compromise between best crumb and best crust.
- I’m pretty sure many of my loaves have been under-proofed. They get extreme oven pop, and the yeast then dies before it has created all the open pockets that it’s capable of doing.
-
- Proofing times
-
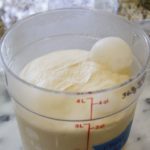
- Lots of rising overnight
-

- Four equal boules
-
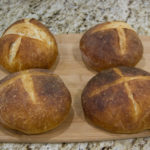
- Crust from 1.5, 2, 2.5, 3 hours proofing
-
- Crumb from 1.5, 2, 2.5, 3 hours proofing
-
- 1.5, 2, 2.5, 3 hours proofing
-
- Crumb from 1.5 and 3 hours proofing