


Loaf 100 – A Long Description of Baking
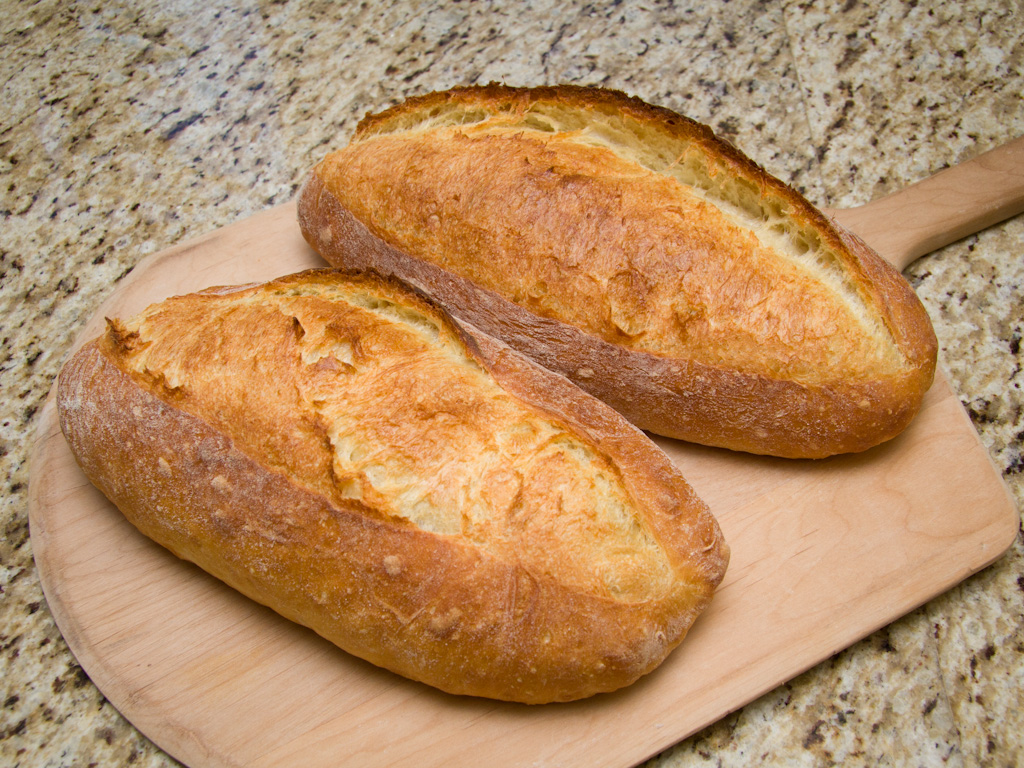
It’s been almost a year since I started my 100 Loaves of Bread project, and here it is: Loaf 100! I’m going to do a separate post with an overview of the entire project; in this post I want to pull everything together that I’ve learned about making my typical Lean loaf. The recipe comes from Peter Reinhart’s book Artisan Breads Every Day, which was my primary source for this project (the full list is here).

Final Loaves 100!
Ingredients
If I used living yeast instead of dry yeast it would be considered sourdough. I could also add herbs, olives, milk, eggs, oil, or dozens of other ingredients to give it a unique flavor or personality.
Varying the amount of water used will change the stiffness of the dough, little water will make it stiff and easily shaped (French bread and baguettes), a lot of water will make it lax and formless (ciabatta) but filled with large holes. This recipe splits the difference.
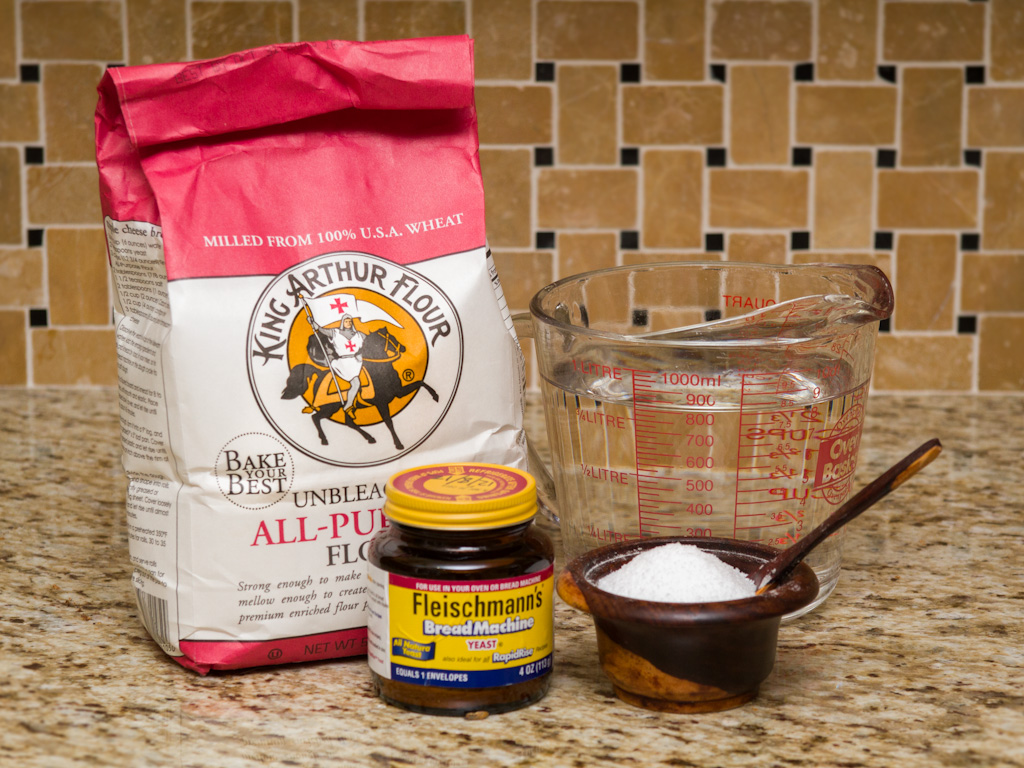
Four basic ingredients.
Day One
Mixing
First, do everything by weight, not by volume. A good scale that reads in grams is the most important tool, everything else is optional.
Second, don’t even get out the mixing machine, instead do everything by hand. I used my big KitchenAid mixer for the first 20 loaves. At the SFBI class we mostly mixed by hand, and I saw the light. By mixing with your hands you develop a feel for the dough that makes it personal, and cleaning up is a snap.
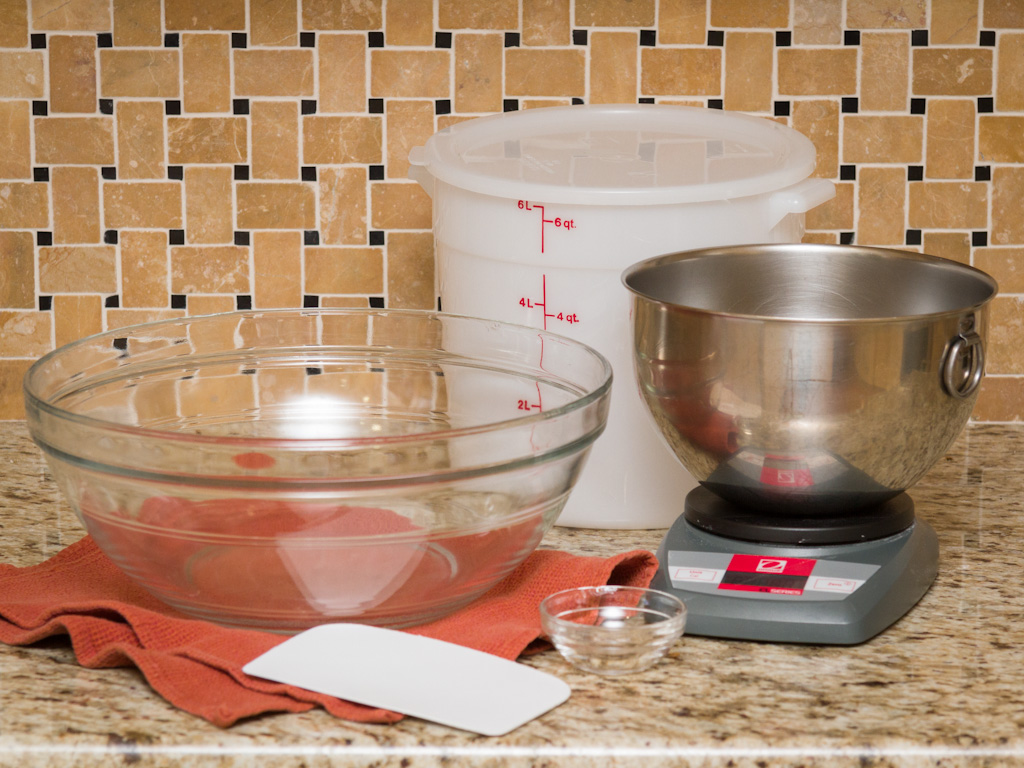
Mixing tools.
This recipe is 75% hydration, aka the ratio of water to flour by weight. To make 1,200g of dough for two 600g loaves, I use 675g of flour, 506g of water (75%), 13g of salt (2%) and 6g of Rapid Rise yeast (.88%). I mix the three dry ingredients together and then add the lukewarm water. The ingredients are then incorporated with a spoon until it gets too hard to do – then I dig in with a hand until well mixed but still a little lumpy. The whole mixing process takes less than five minutes.
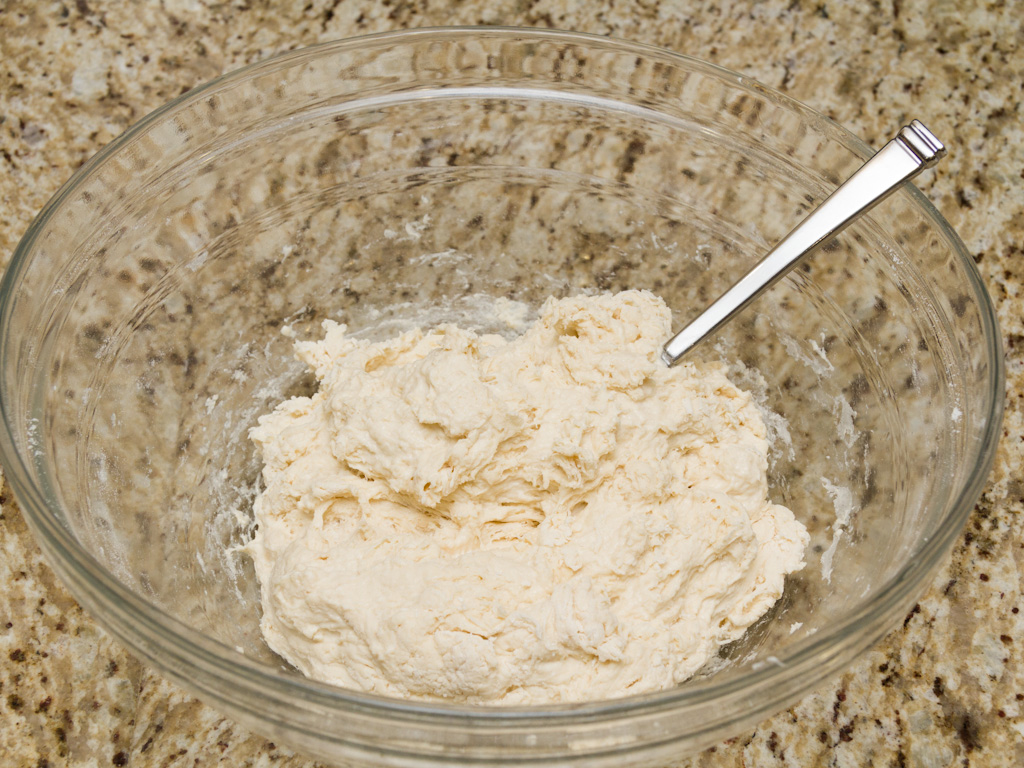
Incorporate with a spoon.
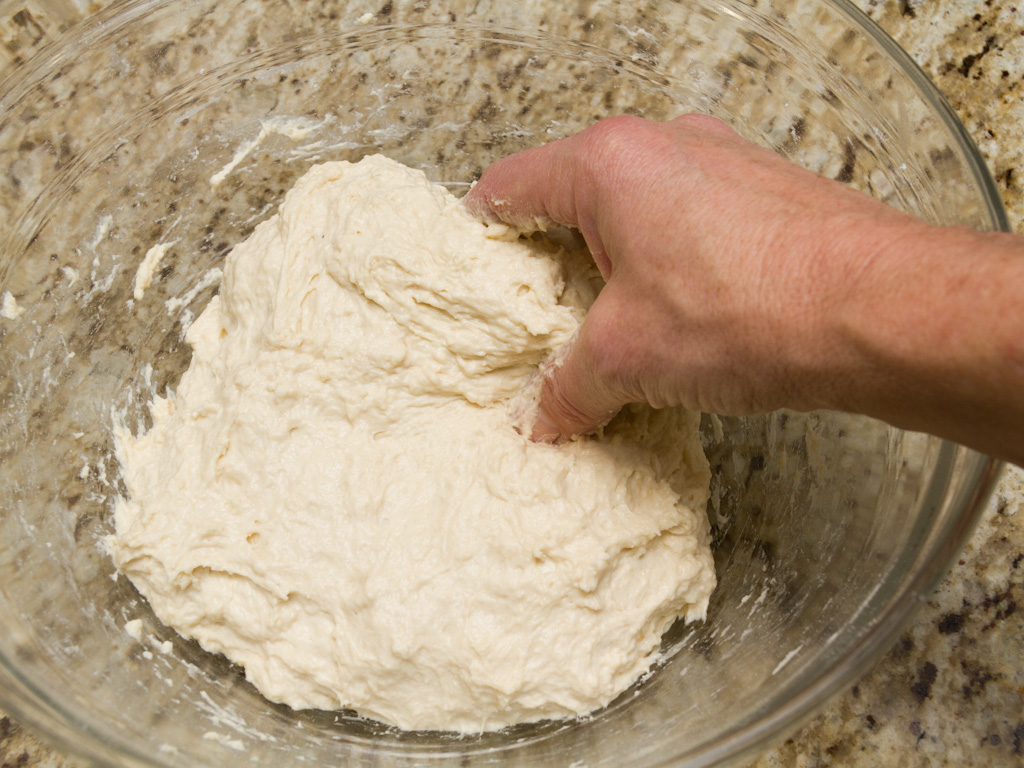
Finish mixing with your hand.
After a five minute rest, the dough gets a “stretch and fold.” That’s exactly what it sounds like – grab the dough on one side, stretch it up and fold it over. Rotate the bowl and do it again from each side (four total). The bowl then gets covered. Repeat the stretch and fold process three more times after a ten minute rest each time.
The purpose of this process is to help the gluten develop in the dough. The strands of gluten are what give the dough its elasticity and allows those beautiful bubbles to form inside. Stretching the dough aligns the gluten strands making them more uniform and stronger.
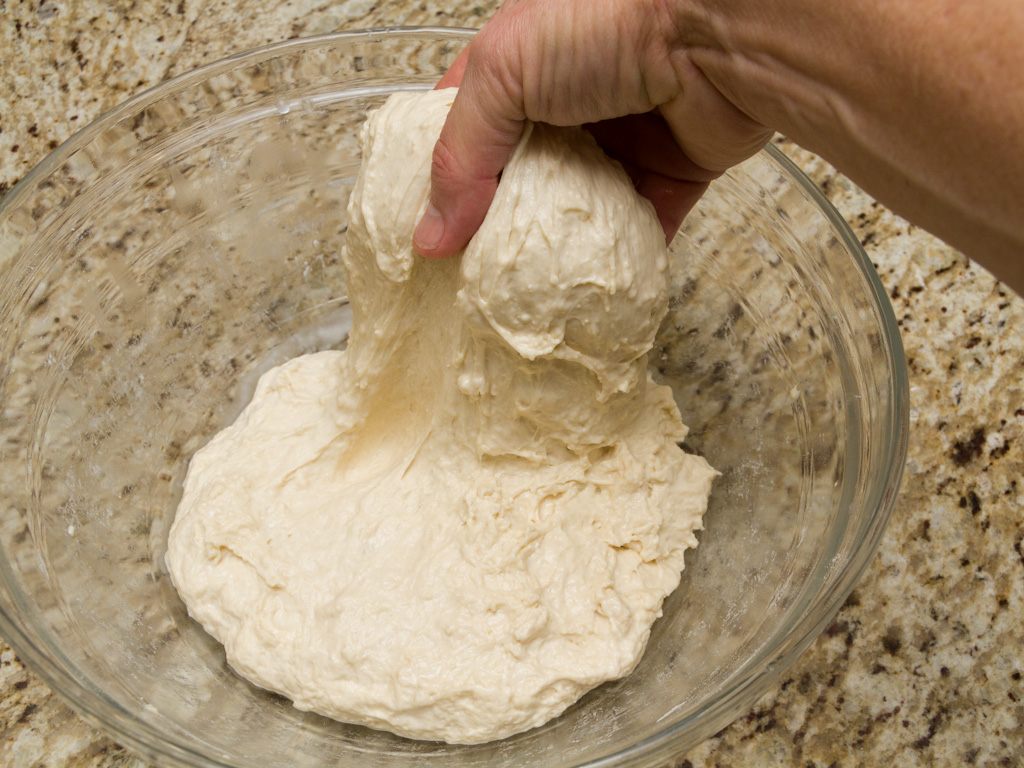
Stretch…
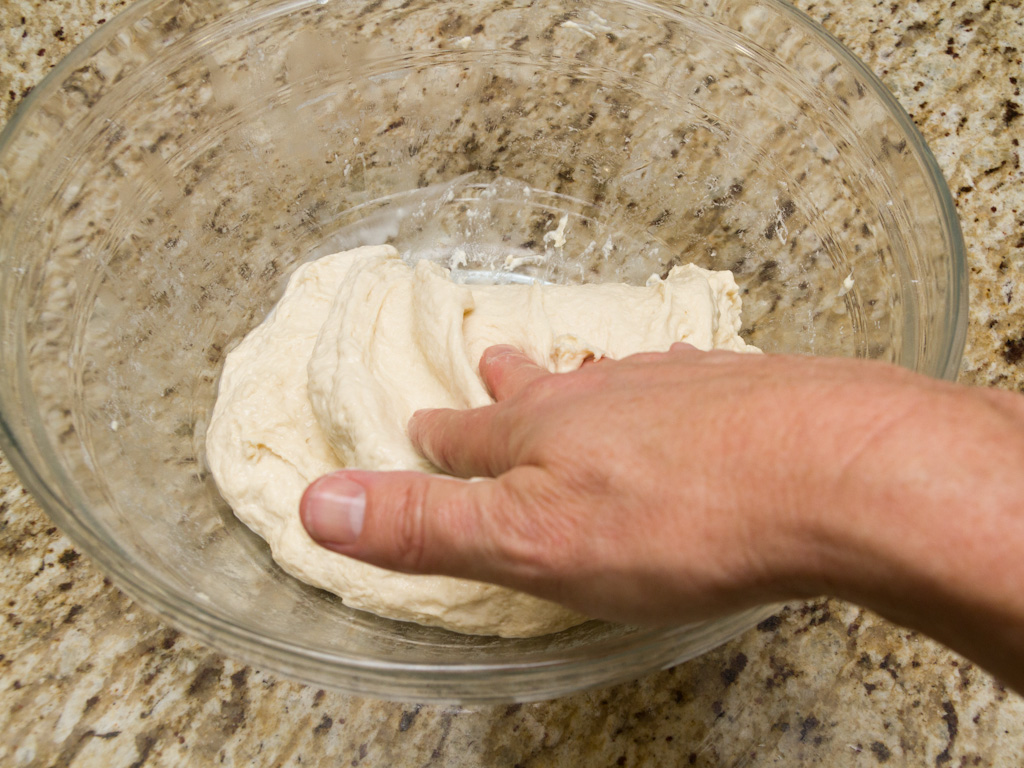
…and fold.
A half hour later, after the last stretch and fold, the dough will be very smooth and elastic. It’s interesting to see it develop a bit each with each S&F. At this point the dough is put into a bowl (or rising canister like I have), covered and put into the refrigerator overnight.
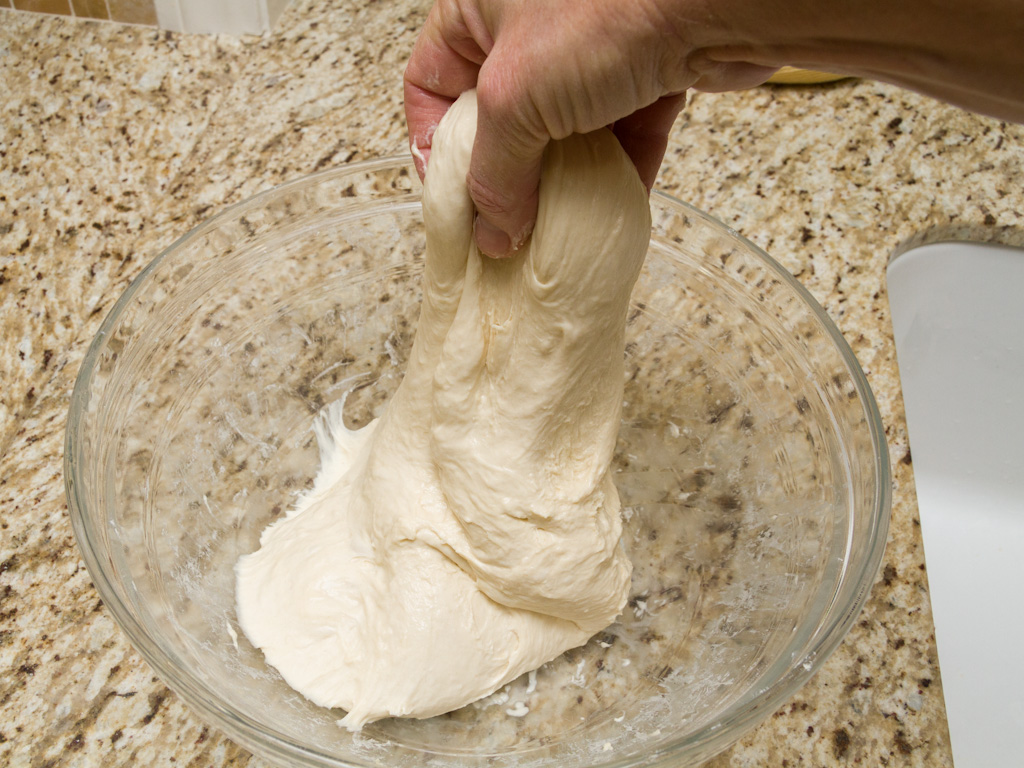
After half an hour the dough should be smooth and elastic.
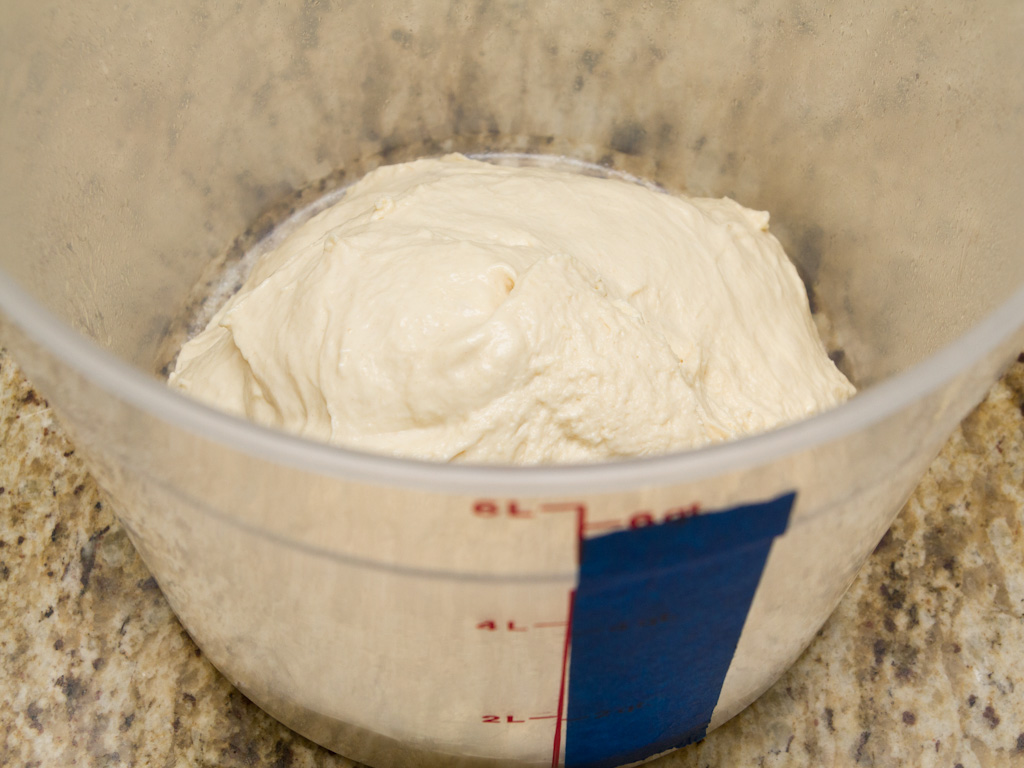
Into a lightly oiled bucket, then the fridge.
Clean Up
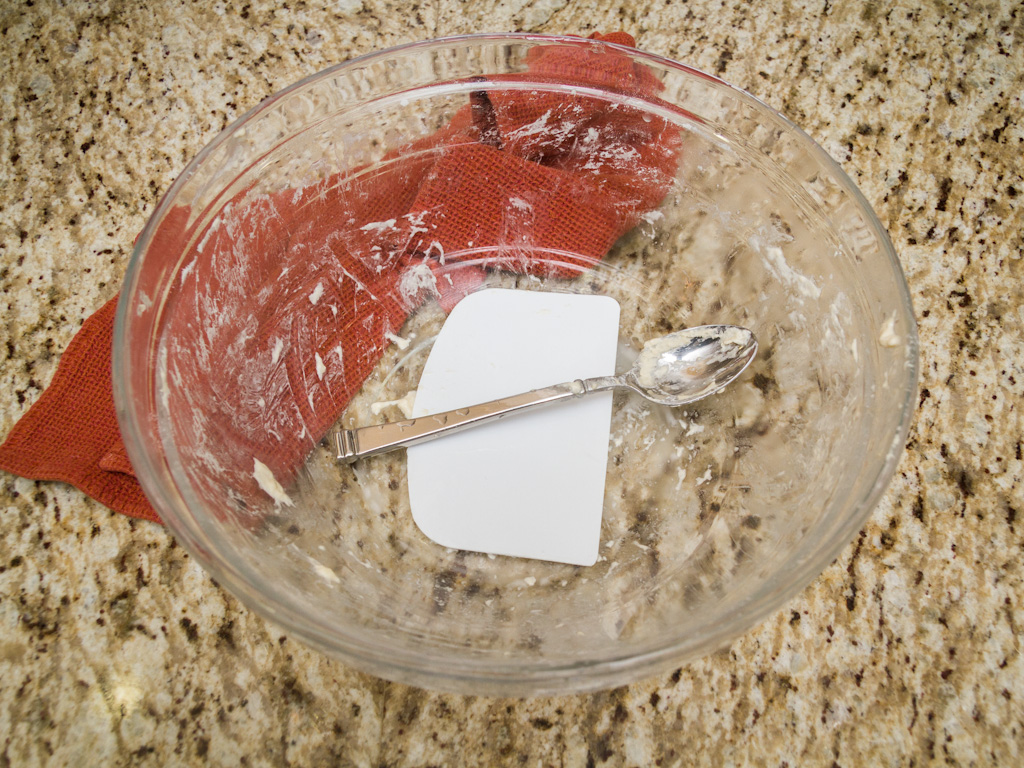
Hardly any cleanup to do.
Day Two
Shaping and Proofing
One of the benefits of using a canister like this one is that it’s easy to tell how much the dough has risen. I mark the time and level on tape along with other information if I have multiple canisters in the fridge at once.
You can also see that there’s a huge bubble on the top of the dough – the more hydrated the dough the more of these you will see.
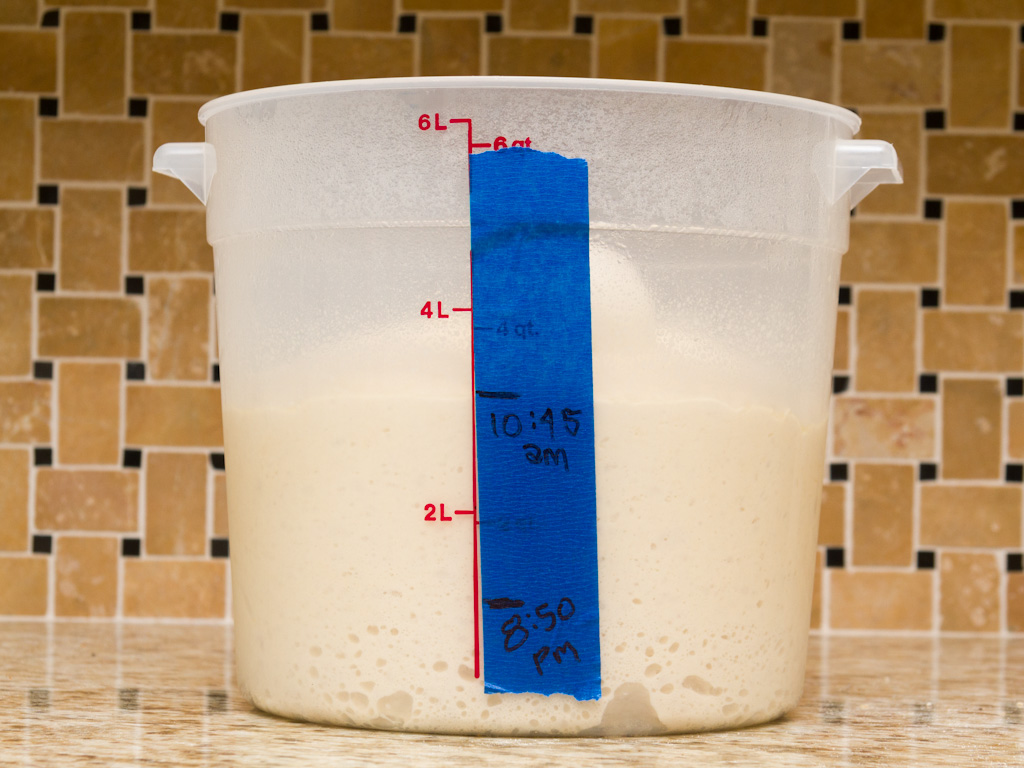
Tripled in size overnight in the fridge.
The two essential tools are a good surface to work on and a metal scraper. For years we used a giant granite slab that we had to heft up onto the counter, but since we remodeled our kitchen I just use the granite counter itself. The metal scraper is used to divide the dough and is a great help in shaping, particularly with larger loaves. Sometimes I use the scale to help divide the dough accurately. The picture on the right also shows one of my bannetons (I have both round and rectangular), the couche (food safe linen used when proofing batards and baguettes), a bowl of flour, and a couple of movable wood surfaces for the loaves while proofing.
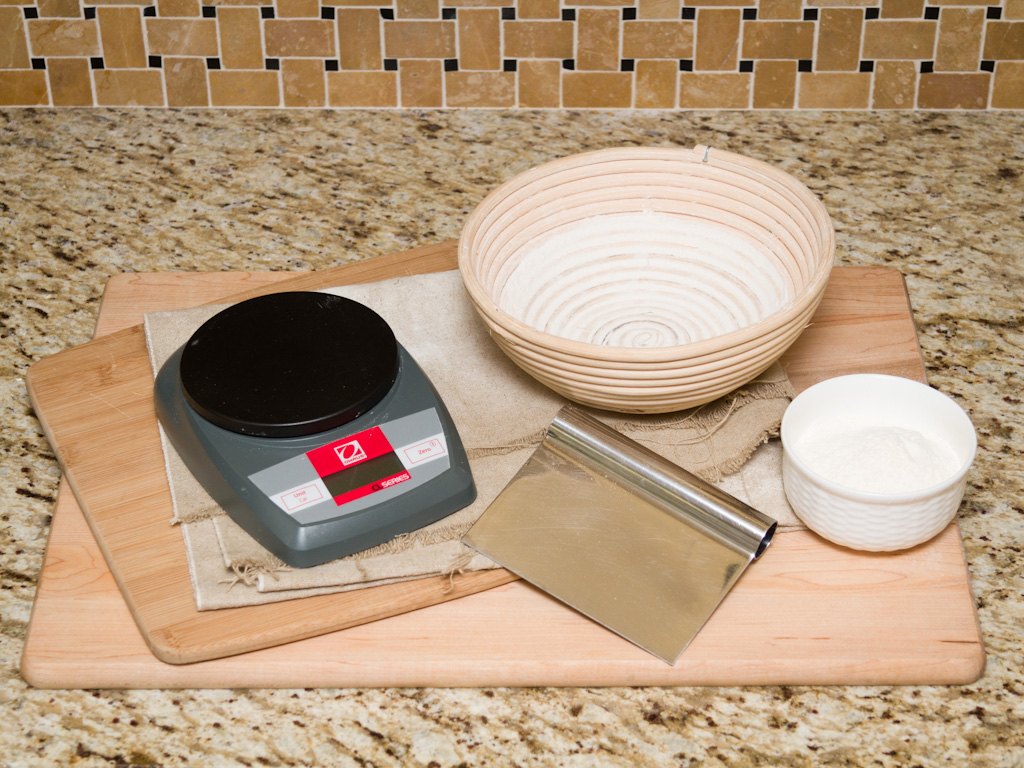
Shaping tools.
Most loaves are pre-shaped into boules (balls) first. I’ve gotten pretty good at shaping boules – the goal is to get a taut surface without incorporating much more flour into the dough. There are plenty of videos online and descriptions in the books to explain how to do this well.
Here’s the dough right after being dumped out of the canister, and a couple minutes later after being shaped into boules.
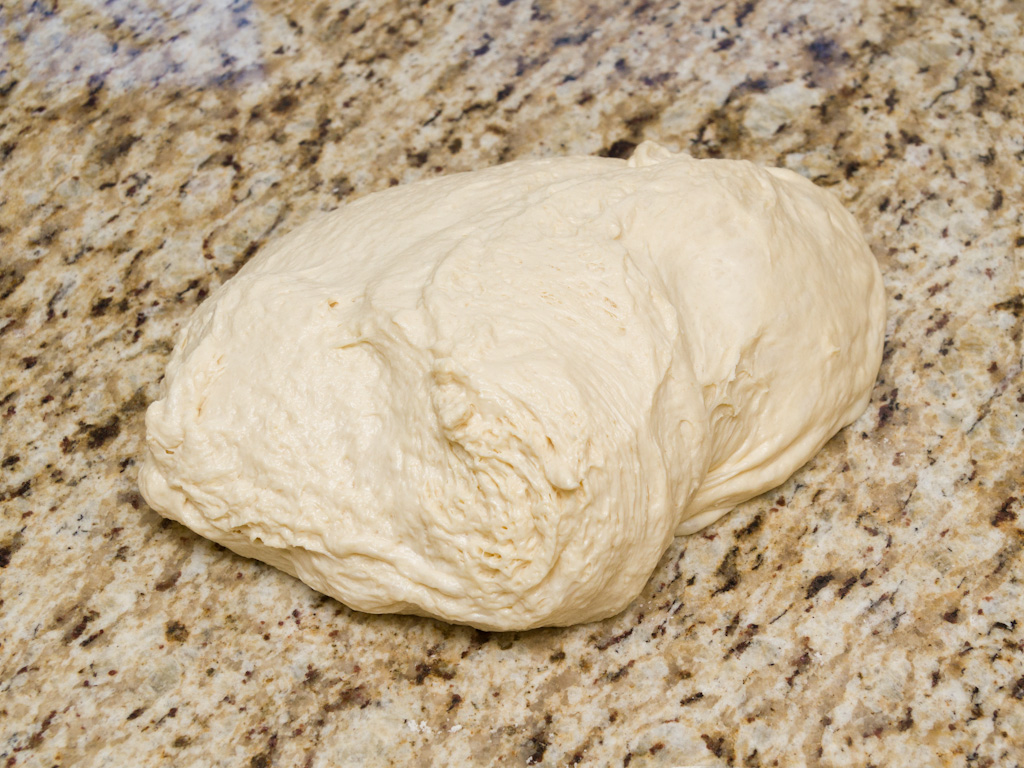
Dough ready to be shaped.
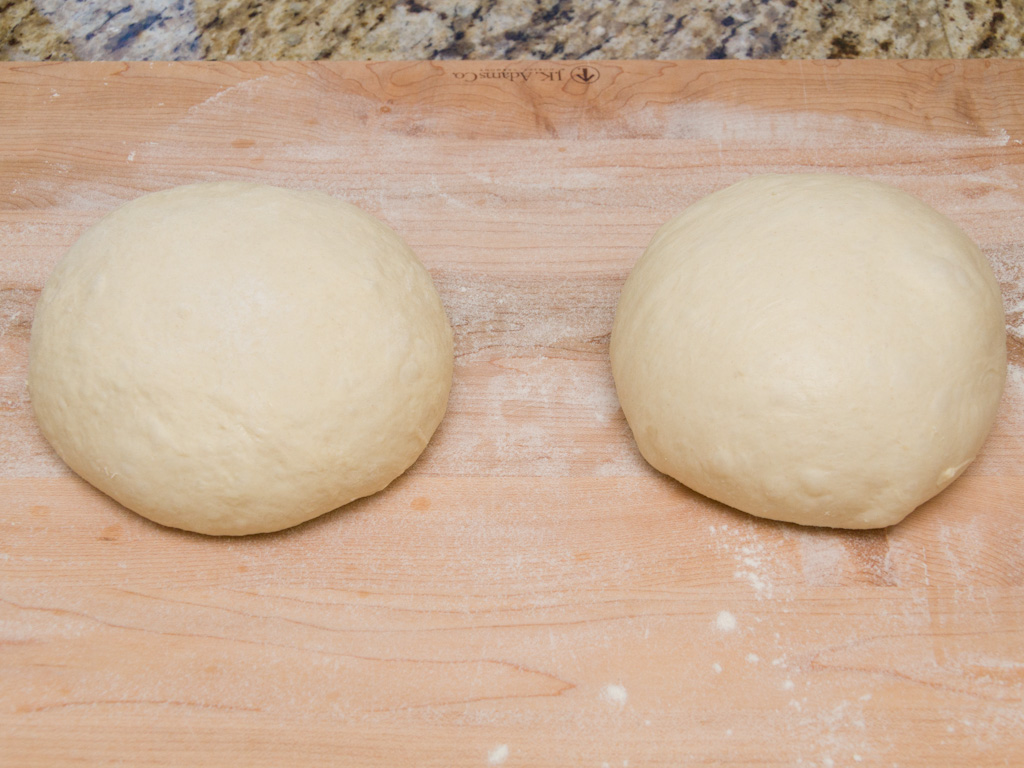
Divided for loaves and pre-shaped into boules.
The boules rest for about five minutes which allows them to begin adjusting to their new form. They will also start to grow again as they come up to room temperature.
For baking boules or using a round banneton, the next step is just a matter of tightening up the surface again. For any other shape the boule goes top down onto a lightly floured surface and a new pass at shaping happens. Though I’ve been doing this awhile I’m still not comfortable in my abilities to shape batards and baguettes well. Again, there are much better resources online than me to explain how to do this well. (Here’s a good video to start with.)
A few weeks ago I discovered that our oven has a “Defrost” setting that allows me to set a temperature as low as 75° – I wish I had known earlier that I had a controlled environment for proofing. When set at 75° the temperature varies between 75 and 80° which is ideal for proofing bread (and much better than my sub-70° kitchen). I load the oven with a cutting board with the couche on it or the bannetons.
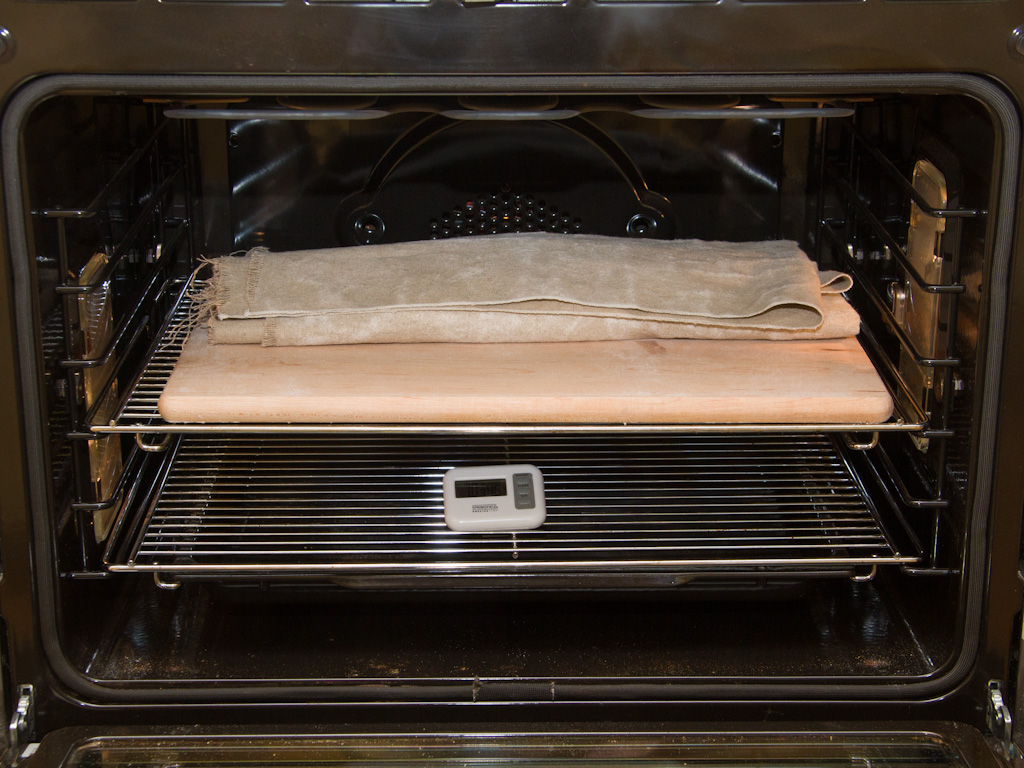
Using the oven for proofing.
After an hour, the loaves are uncovered and left alone again. This is a good time to start heating the oven you’ll bake in to 500°. (We have two ovens, so I can keep proofing in one of them.)
Depending on the loaves, the total proofing time is between 1½ and 2½ hours (sourdough sometimes takes even longer). During this time the loaves will increase in size 1½ to 2x, though that’s hard to measure. The “poke test” is used to judge if the loaves are ready to bake – you gently poke the loaf, if the indentation slowly recovers then it’s ready – if it doesn’t recover at all then you’re too late. I found this to be rather difficult to read, but after a lot of poking I developed a feel for it that seems more reliable. The dough should feel very soft and spongy all over, like the thumb test used for raw to rare steaks. If there are areas that feel stiffer than others then it needs to proof more.
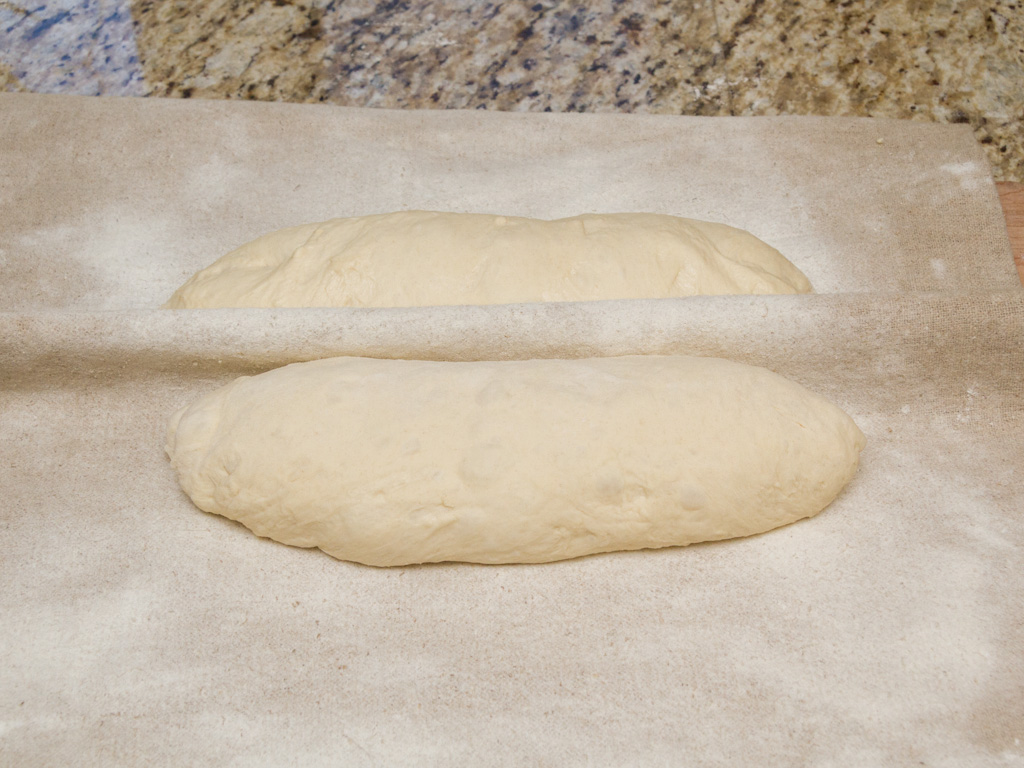
Shaped into batards and moved onto floured couche.
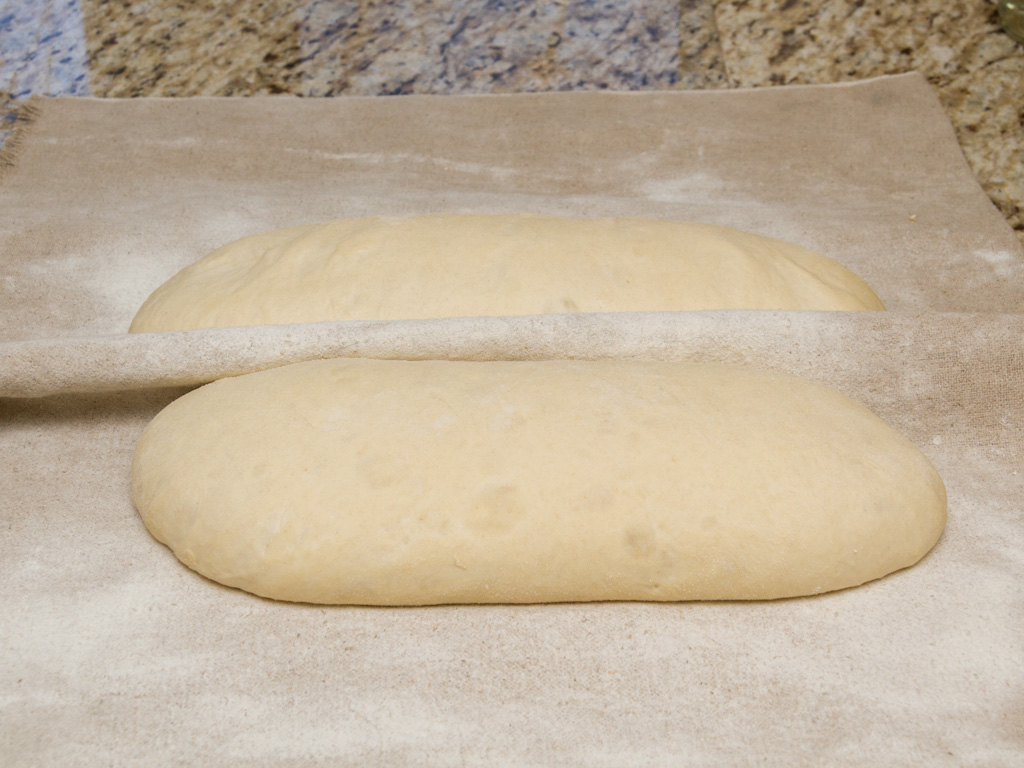
95 minutes later.
Baking
The oven should be pre-heated to 500° with a pizza stone in it to bake on and a roasting pan in the bottom to make steam with. (A cast iron pan works really well, too.) I prepare for making the steam by putting a measuring cup with 1 cup of hot water and a funnel next to the oven.
I cover a pizza peel with parchment paper to make sliding the loaves in to the oven easy. I tried using corn flour, but ran into problems and a mess that way. Parchment paper is easy to use and you just throw it away after baking – no mess. I roll the loaves from the couche onto my arm (real bakers have a special long peel just for this), then move it seam side down onto the parchment paper (so it is now flipped over 180°).
Once the loaves are on the peel I use my razor blade lamé to score the bread. It’s important to have the lamé angled at about 45° when making the score to help create ears when the bread pops in the oven. I’ve not done this right a lot of times.
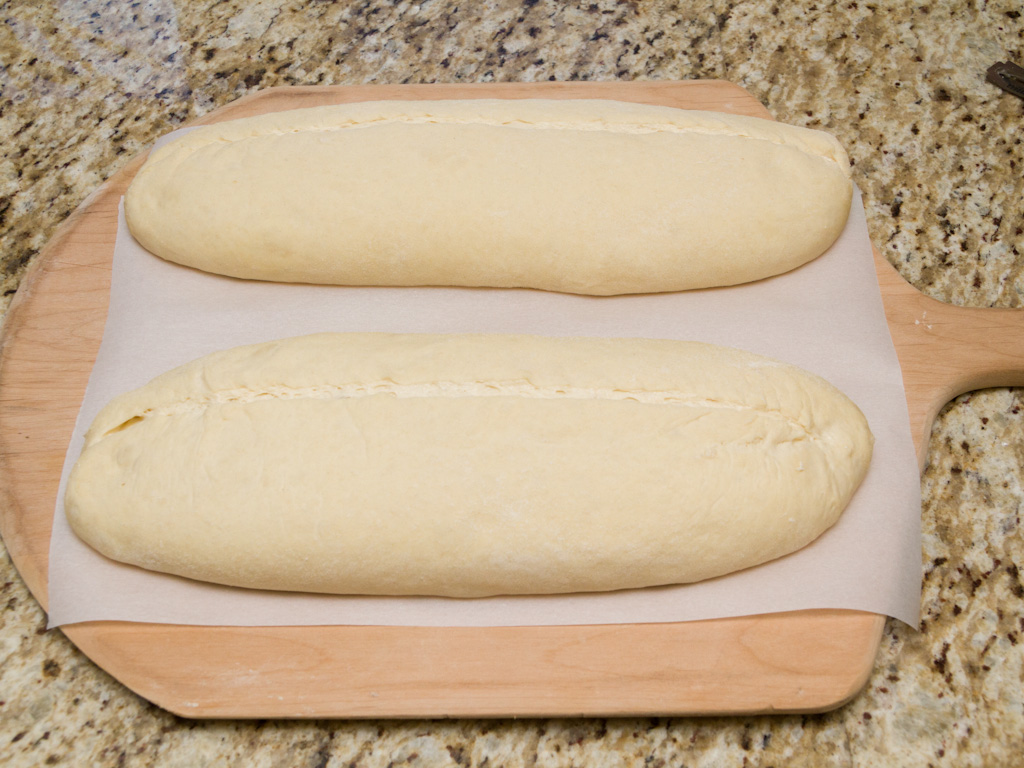
Scored and ready to bake.
The bread is slid onto the pizza stone, I carefully pour the cup of water through the funnel into the roasting pan in the bottom of the oven, quickly close the oven, and lower the temperature to 450°. The water quickly turns to steam, which keeps the top of the loaves soft while the yeast goes crazy. Within five minutes the loaves “pop,” increasing to their final size. It’s fascinating to watch the scored line open up, with the ear lifting up as the seam stretches and tears. The first three images in the sequence below happened between minutes two and three in the oven.
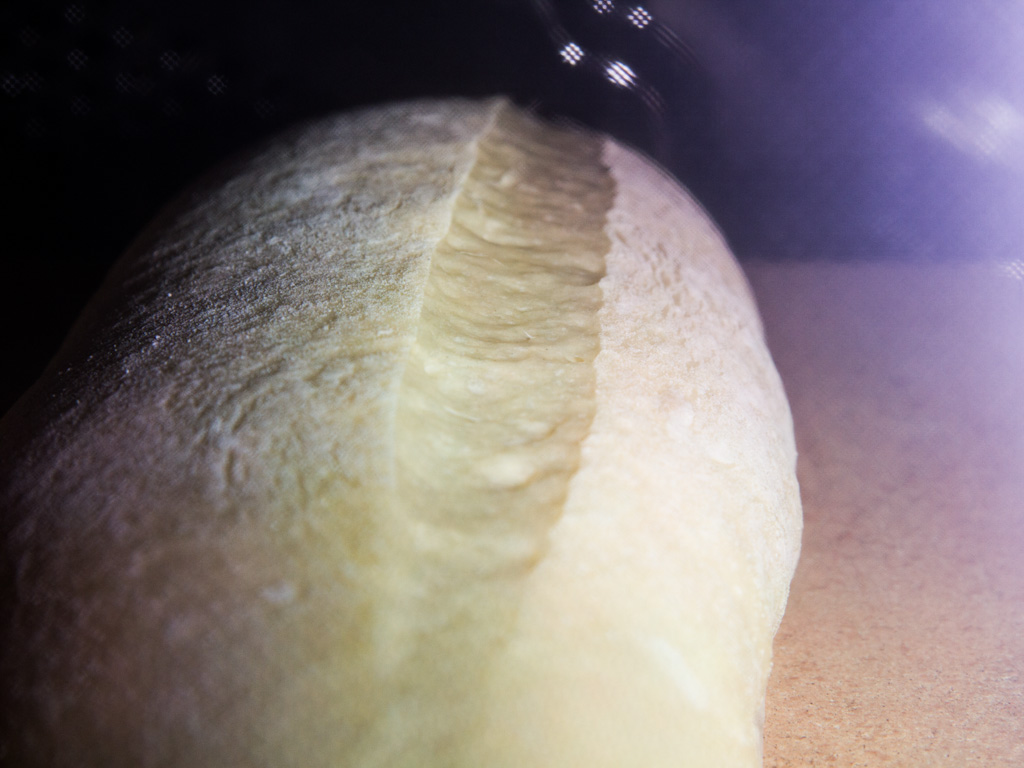
Score starting to open.
Starting to tear.
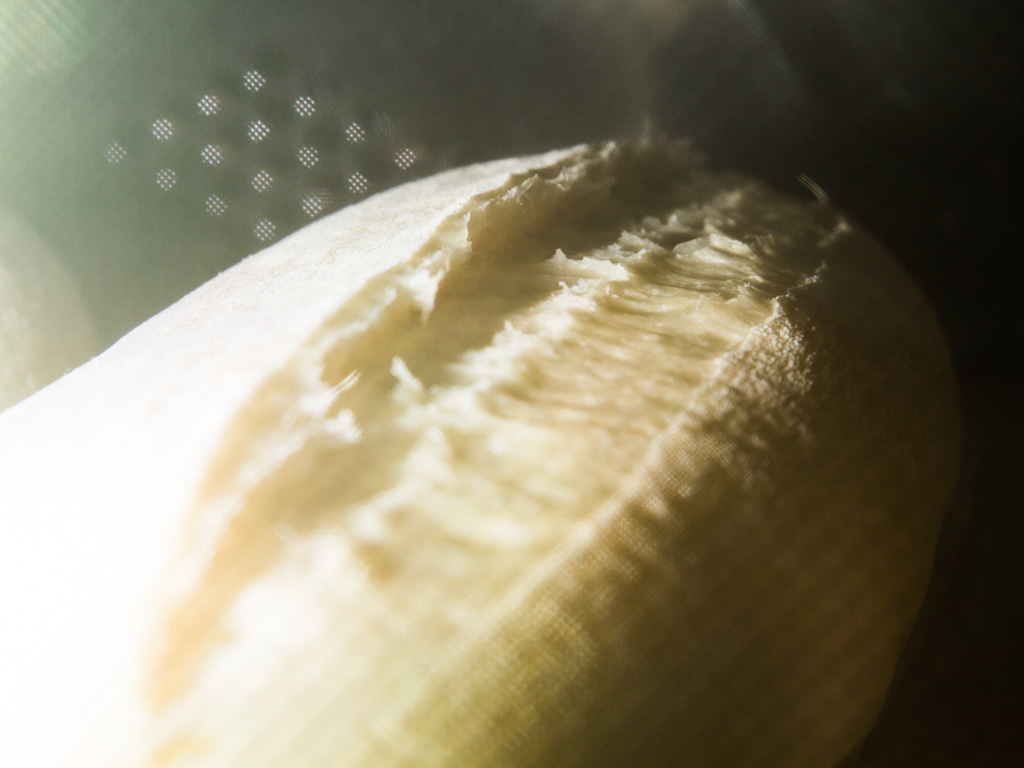
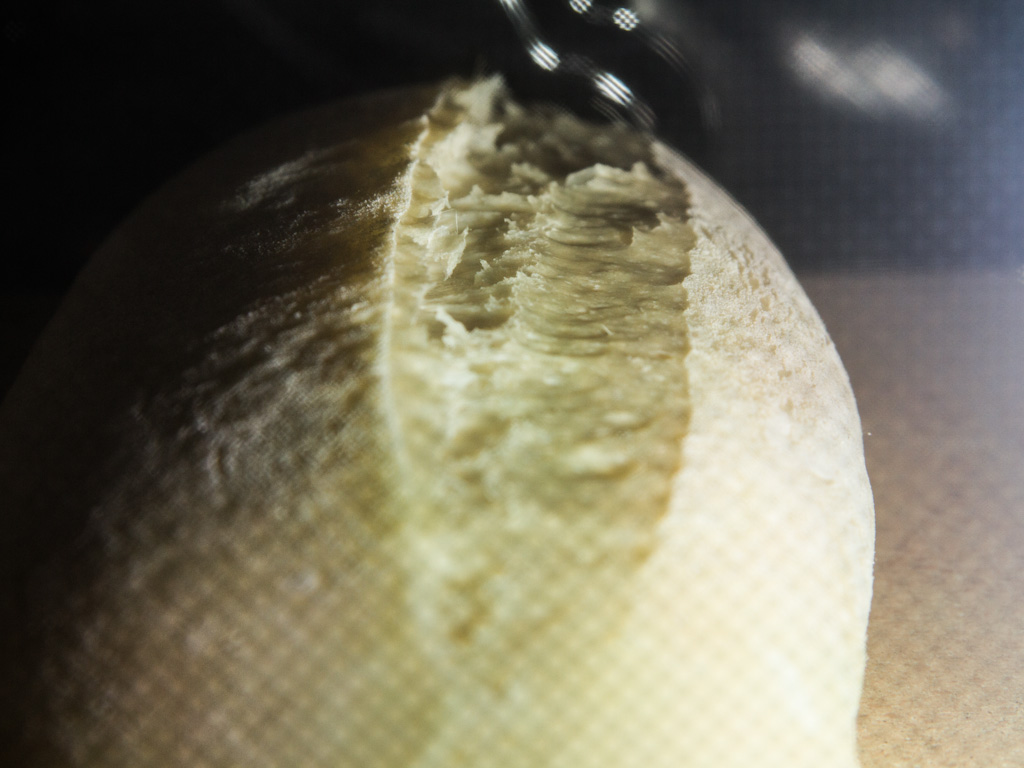
Ear starting to rise.
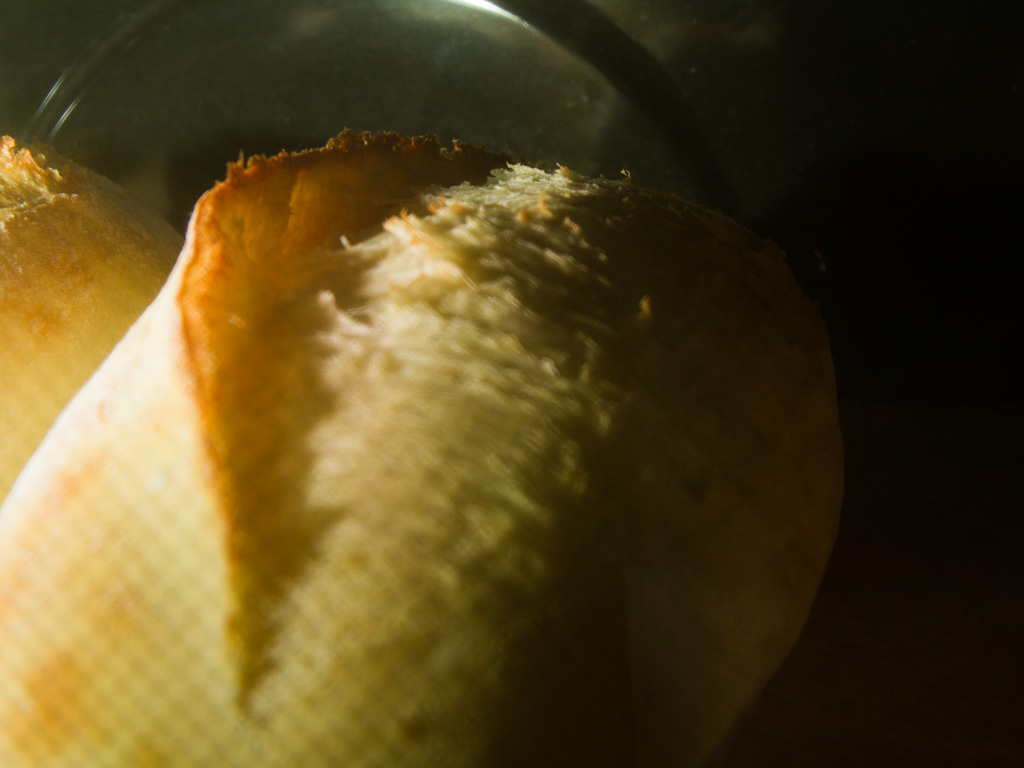
Ear formed, crust beginning to harden.
After 15 minutes I vent the oven to let the steam out. The drier heat turns the crust golden. If there is still water in the pan I will vent the oven again every few minutes until the loaf is done.
I used to use a thermometer to test the bread, but now I just bake until I get the color I like – that seems just as reliable. If I want the crust extra crunchy I’ll leave the bread in the oven for a couple of extra minutes with the oven off and the door cracked. The venting extra dry heat pulls additional moisture out of the crust.
Final Loaves 100!
Eating
We usually eat about half a loaf right away – taste tests end up turning into kitchen chat sessions over fresh bread.
Our favorite way to have bread with dinner is to put half a loaf in a 350° oven for about 10 minutes. The bread gets nice and warm and the crust crisps up. We then slice it quickly and set it on a plate on the table.
The bread also freezes very well. If I bake a few loaves I’ll cut one in half and freeze the halves in separate baggies. About an hour before dinner we’ll pull on out to thaw and then heat for 10 minutes before the meal. This works for sandwiches or any other use, too.
Without freezing the bread has a short shelf life of only about two days, but it rarely lasts that long.
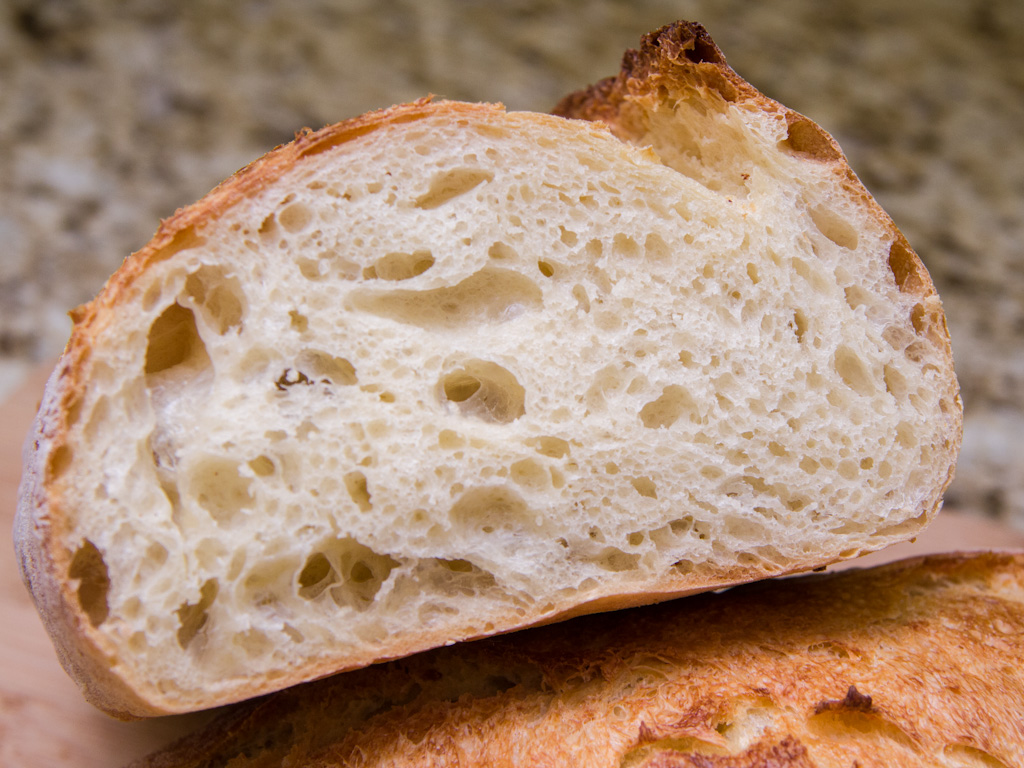
Light spongy interior.
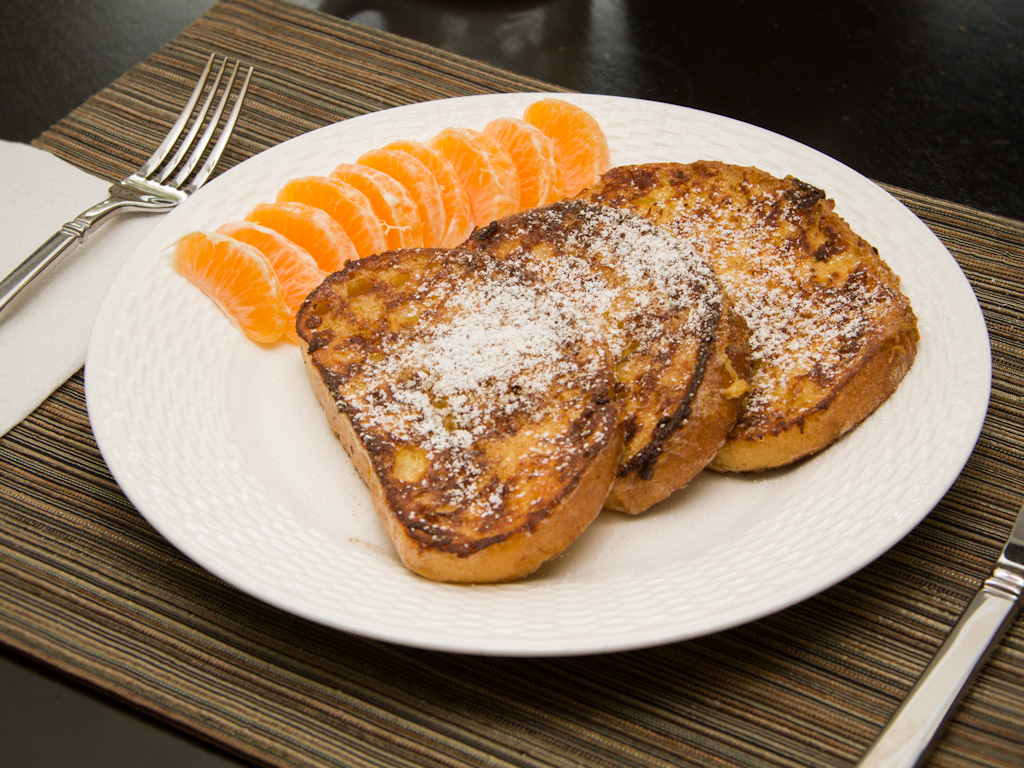
French Toast.