


Loaf 40 – Original 9 Grain Bread
My Seeded Whole Wheat Original bread (loaf 38) was almost excellent. The plan for this loaf was to make it again, but sweetened with honey (per my lesson from loaf 38) to tweak the flavor. When I was buying seeds at Whole Foods I decided to try this with their bulk 9 Grain mixture instead of blending seeds myself. I love multi-grain bread, and getting it already mixed makes life a lot easier. I believe their 9 grain is cracked wheat, barely, rye, corn, rice, flax, and a couple other seeds. I added a bit more flax seeds and poppy seeds for visual interest, so this is probably 10 or 11 grain bread.
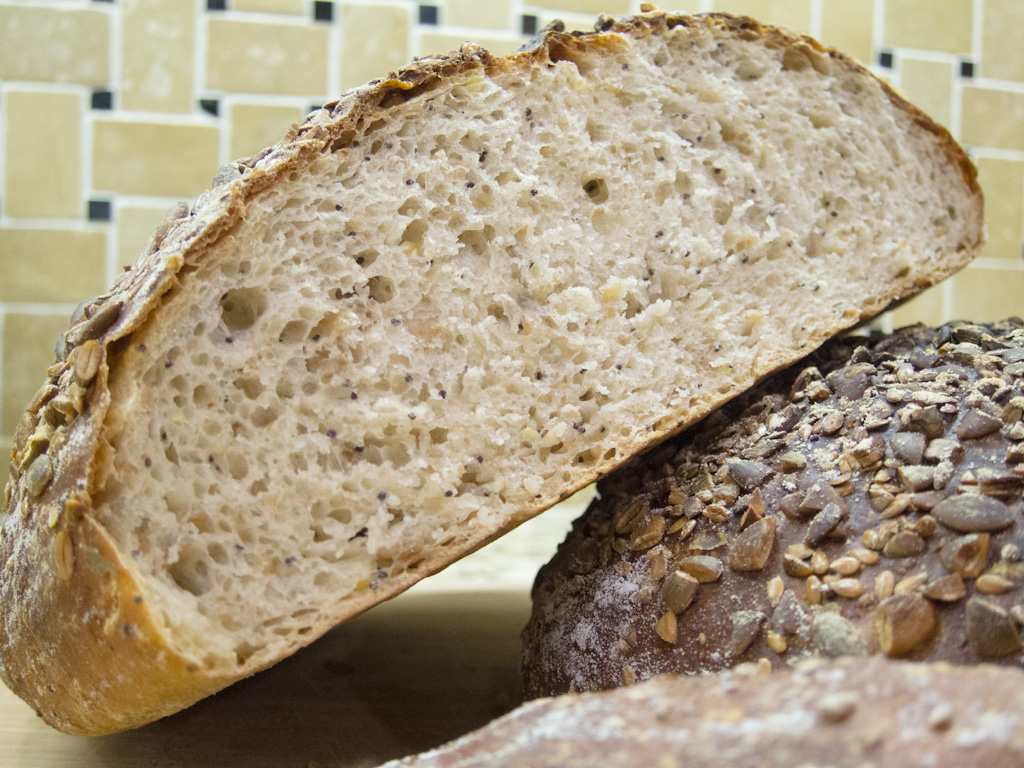
The addition of honey this time, along with a longer proofing time (see loaf 39!), made this into an excellent bread. It has a fluffy crumb and just enough sweetness to make it addictive.
Last time I included the basic recipe with only baker’s percentages. I’m so happy with this modified recipe that I’ll include the whole process here.
The Recipe
This will make two large loaves (about 700g each) or four smaller ones. They will last a couple days in open air, but can be frozen. If you do freeze them, take them out of the freezer in the morning and heat for dinner at 300 to 350° for about ten minutes.
The dough is prepared the day before baking and ferments in the refrigerator over night.
Day 1
It’s important to soak the seeds and grain before mixing in with the flour, otherwise they will rob the moisture from the flour. The total weight here (310 grams) is 45% of the weight of the flour (680 grams). The exact amount of poppy and flax seeds is not critical, they are there to add a bit more visual interest to the loaf.
Mix the seeds with an equivalent weight of water and let sit for 30 minutes, stirring occasionally. Once the water is fully absorbed mix in the honey. The final mix will have the consistency of cream of wheat and taste like a ganola bar.
| % | grams | |
| Water | 100% | 109 |
| 9 Grain | 90% | 98 |
| Poppy Seeds | 5% | 5 |
| Flax Seeds | 5% | 5 |
| Honey | 80% | 87 |
| Total | 280% | 310 |
Mix the flours, salt, and yeast in a bowl to get everything evenly distributed. (Note: I use coarse Kosher salt, so 14g is about 4 tsp. The weight is more important than the volume! The yeast is instant, or ‘bread machine,’ yeast.) Mix in the water and blend everything until you have a shaggy dough. I mix by hand and it takes about 5 minutes. There shouldn’t be any dry flour visible, and the dough will be very sticky and uneven. Now let it sit for 5 minutes.
NOTE: Edit from November 5, 2012. It works better to mix in the seeds and honey along with all the ingredients, rather than doing this as two steps. See Loaf 80 for an explanation.
| % | grams | |
| Flour | 75% | 510 |
| Wheat Flour | 25% | 170 |
| Salt | 2% | 14 |
| Yeast | 1% | 2 1/4 tsp |
| Water | 67% | 455 |
| Total | 170% | 1,155 |
The dough will now feel pretty firm. Mix in the seed blend. I do this by hand on a granite slab, but it can be done in a large bowl or with a dough hook on a mixer. It takes about ten minutes of kneading to get everything thoroughly blended. During this time the dough will go from firm to almost dense rubbery, then it will start to break down and become a goopy mess. When you finally have this unmanageable glob let it rest for 10 minutes on your work surface or in a large wide bowl.

Mixed ingredients slop
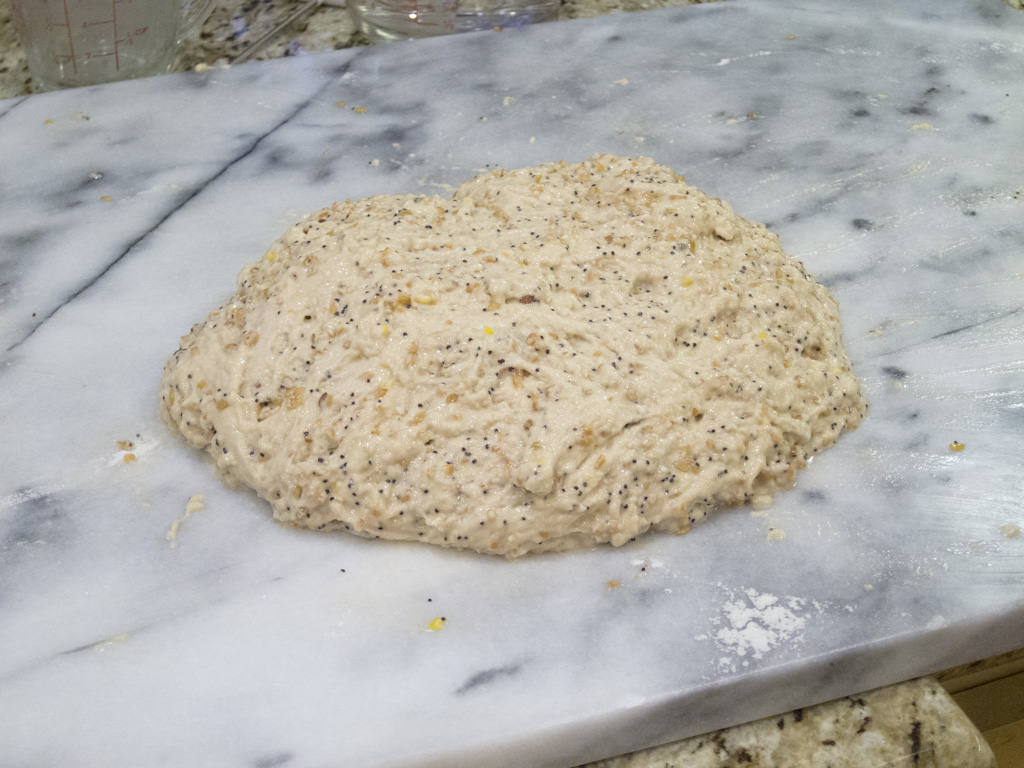
After resting, do a stretch and fold. Use a scraper to lift the half of the dough farthest away from you and stretch it out, then fold it over back over the top. Now do the same thing on the side closest to you, then the right half followed by the left half. You’ve now helped the gluten start to align itself. Celebrate by taking a 10 minute break.
Do another stretch and fold, wait 10 minutes, and then do it again. At this point you should feel the dough start to fight back – the gluten is doing its thing! Long elastic strands are forming which will allow the yeast to make wonderful bubbles inside. If you don’t feel that elastic pull, let it rest and do another stretch and fold.
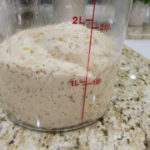
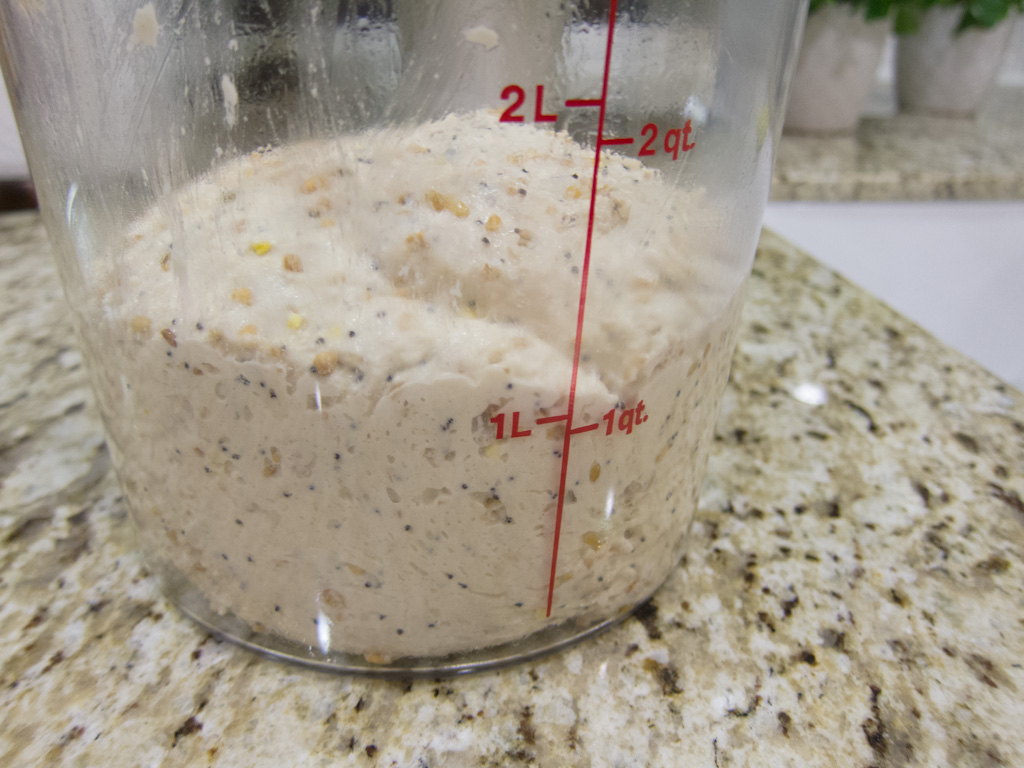
Now take the whole mass and gently transfer it into a large container, cover it, and put it in the refrigerator. The dough will rise overnight to almost 3 times it’s current size, so make sure your container is big enough. For the amounts listed here you’ll need about a 4 liter or quart container.

Some structure, and ready to ferment
Day 2
Remove the dough from the fridge about 2½ hours before you plan to bake. Note: you’ll bake for about 30 minutes, and then the bread needs to fully cool for an hour before you serve it, so it will be about 4 hours from when you take it out of the fridge until you’ll be able to eat it.
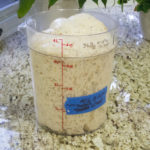
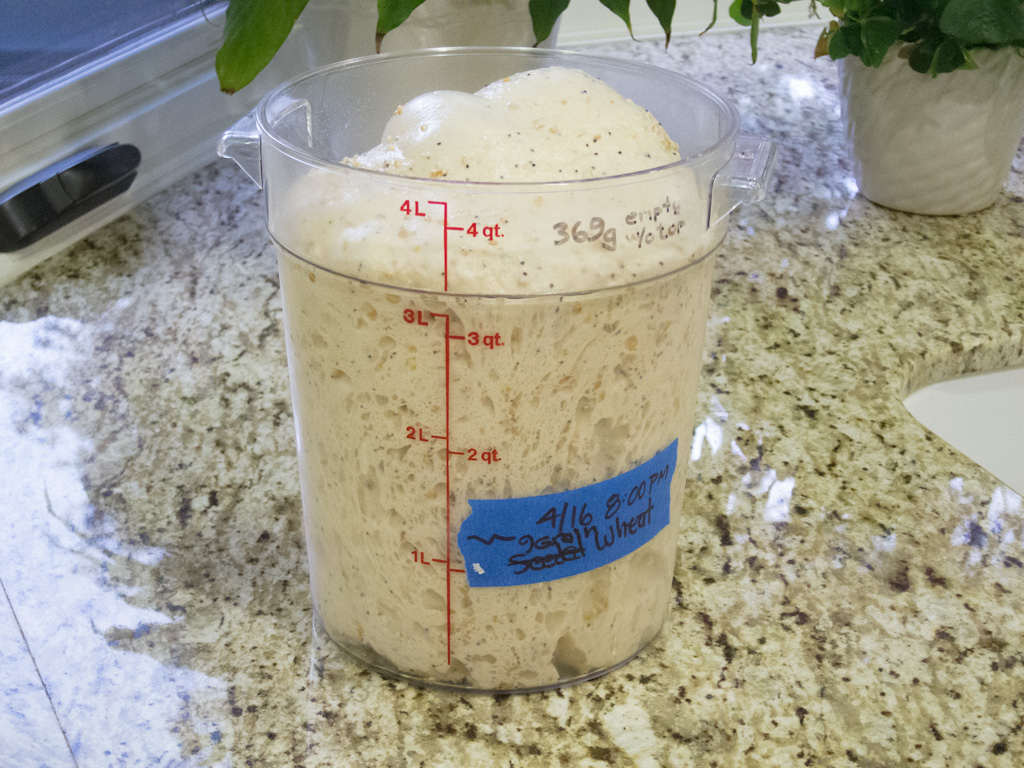
Now marvel at how busy the yeast has been.

3x expansion overnight
Gently transfer the dough onto your work surface. Divide it into the number of loaves you want to make with a knife or your dough scraper. Pre-shape each piece into a boule – this should be quick for each piece, you don’t want to overwork the dough or squeeze out too many bubbles. (Shaping help can be found here: Bread Shaping Demo with Ciril Hitz). Let the dough rest for about 10 minutes to warm up a bit.
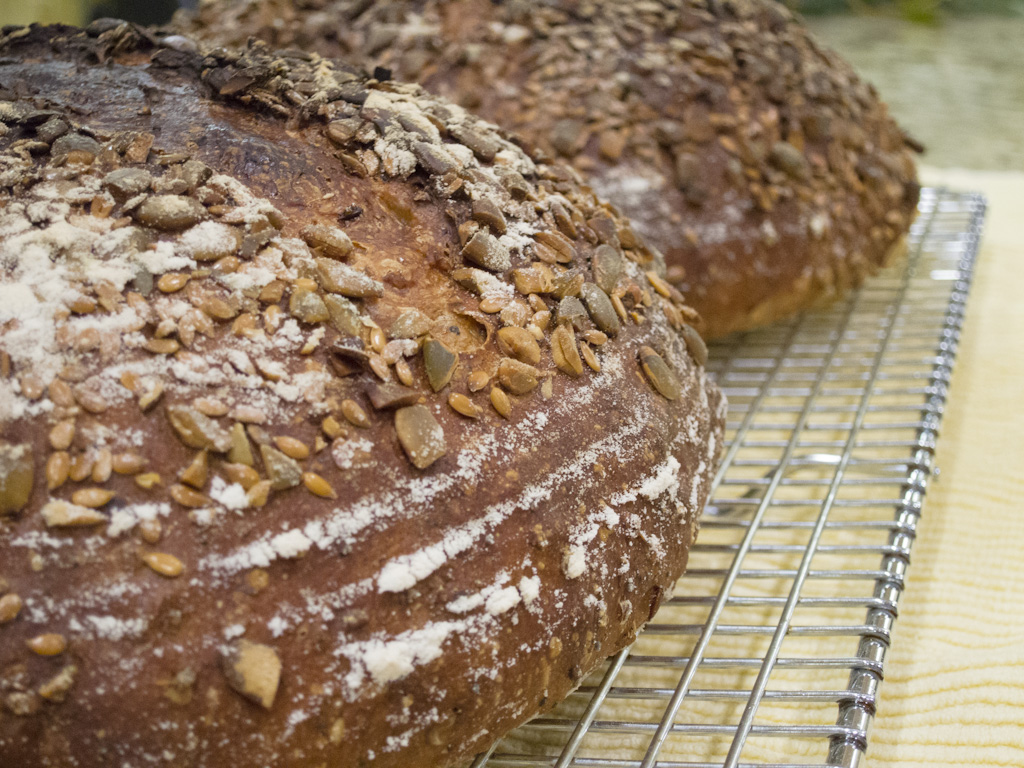
While the dough is resting, prepare a handful of seeds to cover the loaf with. I used a mixture of chopped shelled pumpkin seeds and flax seeds. Sunflower seeds, sesame seeds, or anything else would work, too. They will add some visual interest and a bit of flavor to the finished loaves. Only use unsalted seeds! Spread out the mixture on your work surface or a plate.
Refine the shape into the type of loaf you want – I prefer to shape boules to put in bannetons, but you can make batards (torpedos), boules, or just about anything else. After shaping the loaf, rub water on the top of the loaf to make it sticky and roll it in whatever seeds you’d like to decorate the surface with.
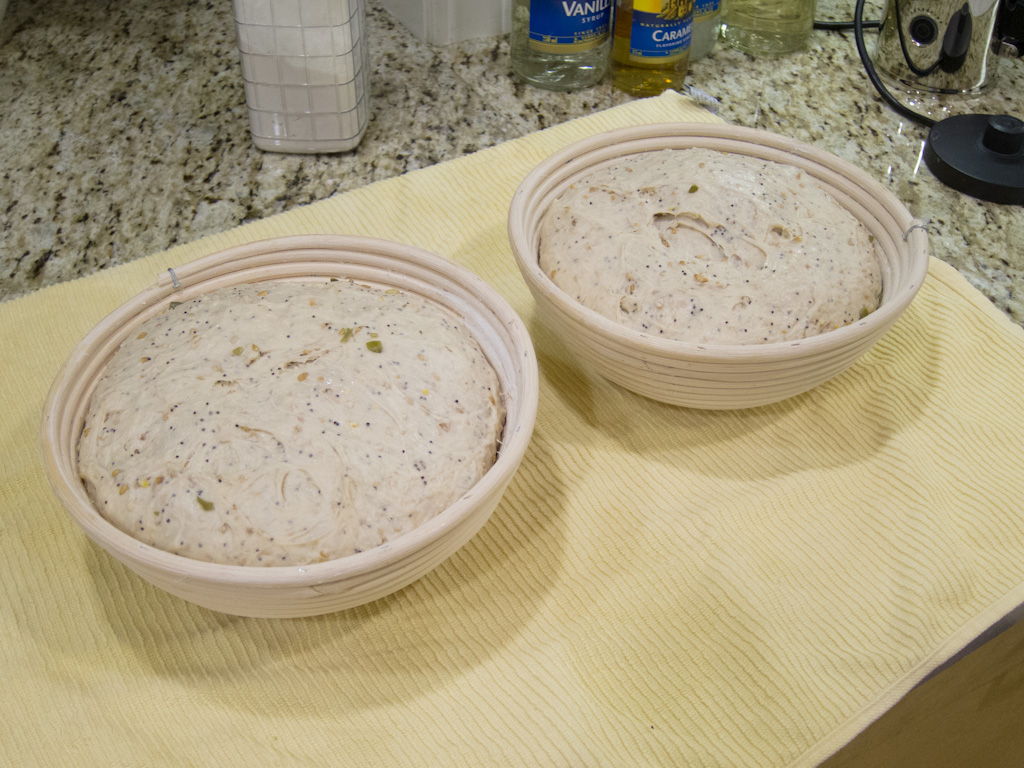
Let the loafs proof covered for about 2 hours. This number will vary depending on your temperature, humidity and maybe some other factors I don’t understand. In my kitchen at 68° and 50% humidity in the Spring, 2 hours is about right. If you’re using bannetons or a couche the loaves will be seam side up.

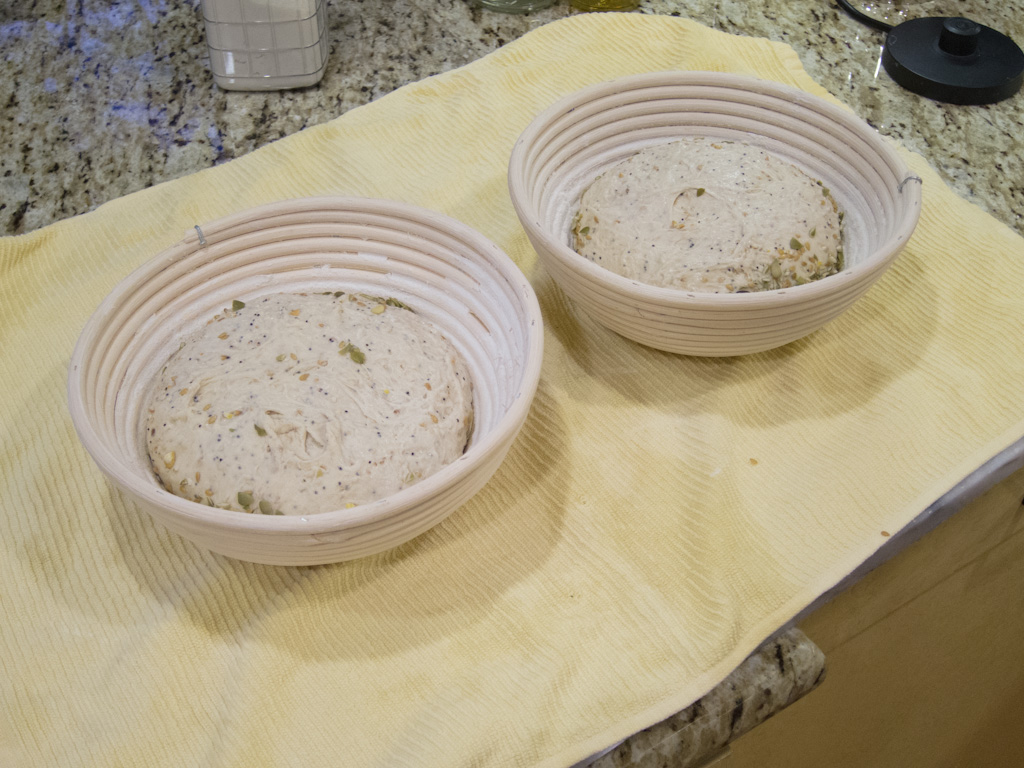
Shaped and ready to proof
45 minutes before baking, preheat the oven to 500°. There are a variety of ways to simulate hearth baking, I use a pizza stone in my oven along with a pan sitting at the bottom; other people use inverted Dutch ovens, or real hearth ovens.

2 hours of proofing
When the loaves are ready to bake, score the tops and transfer them to a peel and into the oven. Most people use cornmeal to help the loaves slide around, I use parchment paper. Carefully pour a cup of water into the hot pan at the bottom of the oven and lower the oven temperature to 450°.
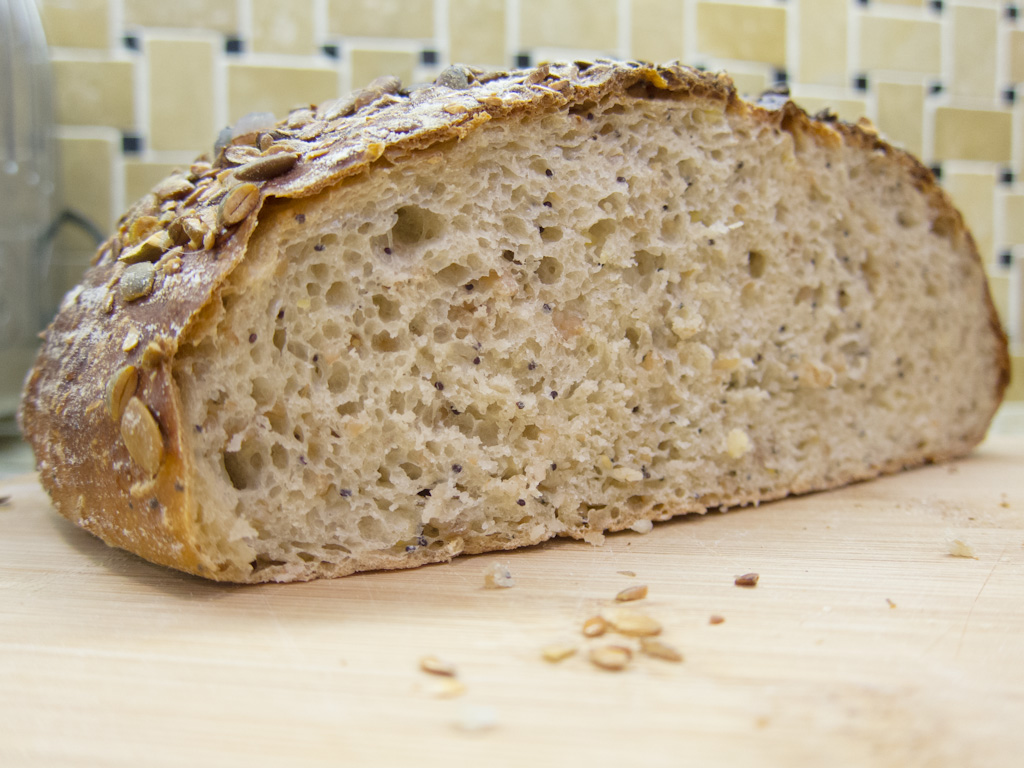
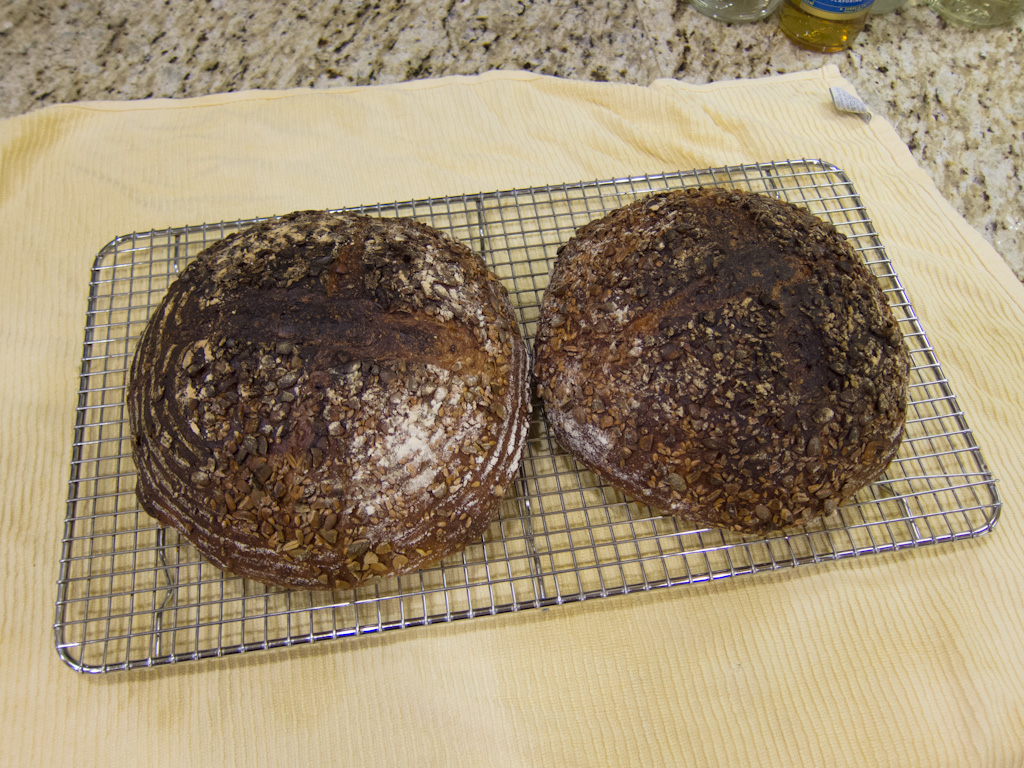
The loaves will need about 30 minutes (less if you’re doing smaller loaves instead of two large ones). Check on them after twenty minutes and then pay attention. You want the internal temperature to be 200°. These two loaves went from 180° to 206° quickly in the last 10 minutes, turning the tops way too dark. I should have taken them out about 2 minutes sooner.
When they’re done, transfer them to a wire rack and let cool for at least an hour. It’s tempting to eat them hot, but there’s still a lot of cooking going on while they cool off. Let it be.
Now enjoy your reward. Eat about half the loaf as research to examine the nuances of the crumb, crust and flavor. Try some with butter, but it’s just a good without it. Then have more as toast the next morning. Yum.

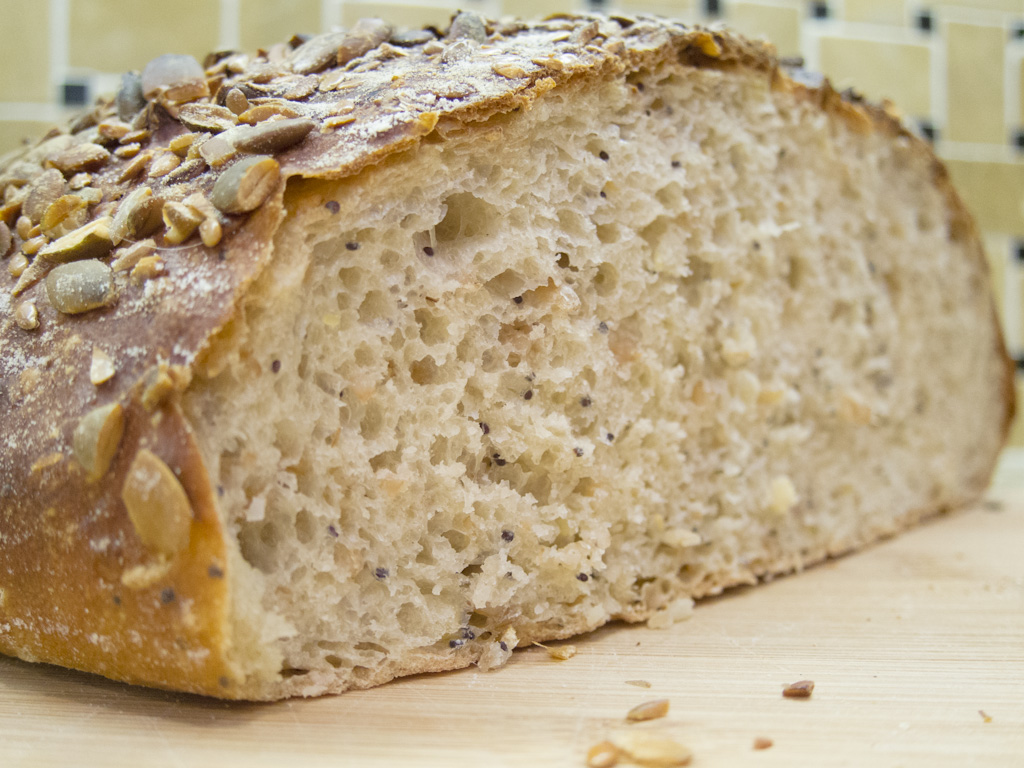
Internal crumb
-
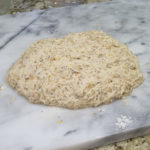
- Mixed ingredients slop
-
- Some structure, and ready to ferment
-
- 3x expansion overnight
-
- Shaped and ready to proof
-
- 2 hours of proofing
-
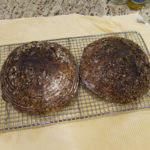
- A bit overbaked, oops
-
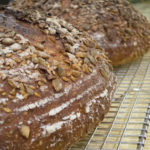
- Closeup of crust
-
- Internal crumb
-
- Internal crumb
-
- Internal crumb